Printing Tips

Check out my printing tips if you're having problems printing to the right size
If you'd like to support this site and all the free things I post- please check out my Don't Eat the Paste Mandala collection coloring book for 9.99 at Amazon.

Sunday, June 29, 2014

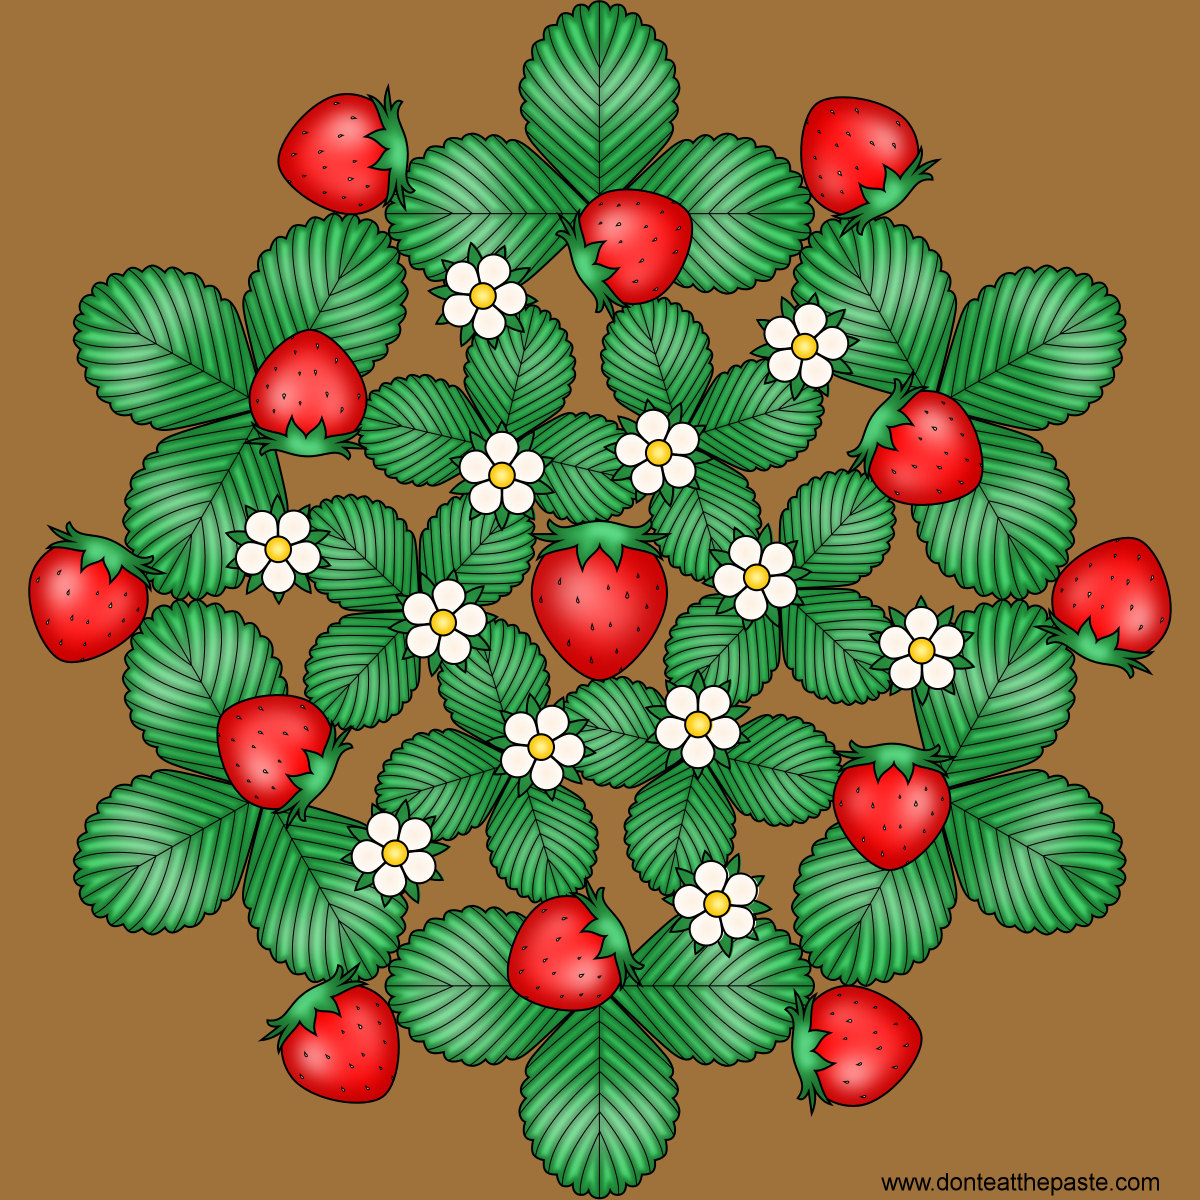
Strawberry mandala to color

Strawberry mandala- with a blank version to color

Yesterday I worked in my garden for hours. TG and I put in some purely ornamental perennial flowers that a friend gave me, plus the normal maintenance stuff for my beds of edibles. I'm really looking forward to strawberries ripening, and that inspired this mandala.

Click the images below for a larger version to print and color.

Small jpg version:
Strawberry mandala to print and color- also available in transparent PNG format

Large transparent png version:
Strawberry mandala to print and color- also available in jpg format

Wednesday, June 25, 2014

Eagle gift box

Bald Eagle- photo taken in Anchorage, Alaska

So a couple of months ago, I wanted to go get photos of eagles. It took us a little while to find them, but the one I used for this printable box posed for me. I wound up using the photo on a blanket for my dad from one of those photo printing places. He's been enjoying it. I hope you like this printable box as well.

Click the image for a larger version to print on card stock, cut out, score lines, fold, glue!
Printable bald eagle box

The photo was taken with my Fujifilm HS50EXR. I've had a few bridge cameras, and this is my favorite one. I'm going to be trying out a new one this week though so we will see if it stays my favorite! (affiliate link)

Do you want to see more printable boxes that are appropriate for men's gifts? Let me know!

Managing a micro-business professionally with GoDaddy

This post brought to you by GoDaddy. All opinions are 100% mine.
There's going to be a giveaway!! Keep reading to find out how to enter and what you can win!
As some of you know, I have a micro-business selling templates, patterns and e-books. I also do some commissioned beadwork on occasion. The truth is that I don't want the business to get huge and take too much time because there are so many things I'd rather be doing.

But it would be nice if it were a little bigger. Also my daughter wants to start her own business. This is where GoDaddy comes in. They are very well known and reliable as a hosting and domain company, and with an Office 365 plan, you can work with people. You can collaborate, create a website, have that oh so important branded email. Even better? It's working with a program you've probably already used, using common formats like Power Point for presentations, or Excel for keeping track of the important things.
Office 365 from GoDaddy is a great solution. You can sign up for a monthly plan, and get your domain. With that monthly plan and domain- you get the tools to start a website. It's all worked out so you follow step by step instructions, and everything is well written and documented. You don't need to learn how to code. If you need help, it's always available from expert support.
So while I was going through and using Office 365 from GoDaddy, and setting it up- it became increasingly clear to me, this is going to be good for my micro-business and it's perfect for the one my daughter it starting. Why? Not just because it's simple to use, but also because she can use it with her mobile device. I'm old-fashioned, and all about the hard drive and traditional programs. She's been working in clouds since it was possible. This is a way we can work together, both of us in our preferred environments. She can use a web application, and I can on my desktop and we can sync and collaborate.
This is huge. The 3 best things for my use are the ability to use it with mobile devices like my tablet then sync so the information is on my desktop as well, the 24/7 support and Outlook with branded email. Outlook is so easy to use, and having your own domain email always looks so much more professional.
The set up and support for Office 365 from GoDaddy are designed for small businesses, you don't need to have an IT department, you can do it yourself. The tools are familar and they have support 24/7 so if you get stuck, you can get help fast.


So do you want to get started? Do you want to try it? I have ONE code to give to one lucky reader. 1 full year of Office 365 GoDaddy Business Essentials AND a 1 year .COM, .NET or .ORG name registration.
Because the code expires soon, you have until June 28, 2014 to enter, and entering is easy. Are you a small business owner? Leave a comment letting me know how Office 365 can help you better manage your business. Don't forget to give me some way to contact you if you win.
My favorite feature is the ability to work with my daughter, what feature sounds amazing to you?
Visit Sponsor's Site

Monday, June 23, 2014

Spork Sweater tutorial


Because of all the plastic spoons that restaurants, fro-yo places etc have, and how much I don't want to be using them- my family considered various solutions for a while before settling on SPORKS! So now we all have our sporks. TG and her dad carry small stainless steel multi-tool ones on their key rings, William and I have Snow Peak Titanium Sporks. They got a great reviews because they have deep tines that are polished smooth and nice deep bowls.

But even with polished tines it needed protection so it wouldn't snag things in my purse. The other thing that I needed for a spork holder in my purse was no buttons or ties to snag on other things. So I designed this spork sweater! It's worked from the bottom of the spork up, then has a flap like an old fashioned sandwich bag that flips over to close.

Because sporks come in different sizes, and because I use Boye steel hooks which are sized differently from the other major hook brands- this is a tutorial instead of a pattern. Because it's a tutorial rather than a step by step pattern, just use whatever hook size works for you and the thread you choose.

I used size 5 thread- Bernat Handicrafter Crochet Thread in Iris, it's a very soft, easy care acrylic fashion thread.

sc= single crochet
sl st= slip stitch
st or sts= stitch or stitchs
ch= chain

Start by chaining a length as long as the width of the handle of your spork. Chain 1 extra to turn, and slip stitch down the length to reinforce the chain.

Rnd 1:Ch 1 tightly to turn, and single crochet in each stitch on one side of the slip stitched chain, at the end, 3 sc in that stitch, sc in the other side of each stitch, 2 sc in last st, slip stitch to join.

Rnd 2: Ch 1, sc in each st around, sl st to join to first sc.

Repeat Rnd 2 until it's long enough for the handle of your spork.

The next part is a little trickier, you'll be widening the cosy to fit the bowl of your spork.

Single crochet until you reach the stitch that's on one side of your round, 3 sc in that stitch, put a piece of a contrasting color thread or a small stitch marker in second stitch of the 3 sc, go down the other side, and do the same on the other side. slip stitch to join.

Ch 1, single crochet in each stitch. Slip stitch to join.

Now it's all up to your judgement, for my spork, I did another plain row, then increased on the next row. Each increase will be 3 stitches centered in the side stitches, so marking the middle stitch makes it easy to find where the next increase goes. Mine was mostly 2 or 3 plain rows, then an increase until each side was 12 stitches, with the 1 stitch on each side for 26 stitches around total.

When it's wide enough for the bowl of your spoon, keep crocheting plain rounds until it's long enough to cover the bowl, and one extra round past that.

Break off thread.

Join in thread in the edge stitch on one side, leaving a long tail to sew down the flap. Single crochet to the edge stitch on the other side,
Chain 1 to turn, and single crochet across. I used reverse single crochet every other row to keep it from developing the ridges in single crochet, but single crochet works too.

You want to do 8 or 10 rows of single crochet. Break off thread, leaving a long tail for sewing.

Fold the flap over the top of the cosy, and sew down the flap along the sides using the tails of the thread, Knot off securely and weave in ends.


Friday, June 20, 2014

Heart Window mandala to color

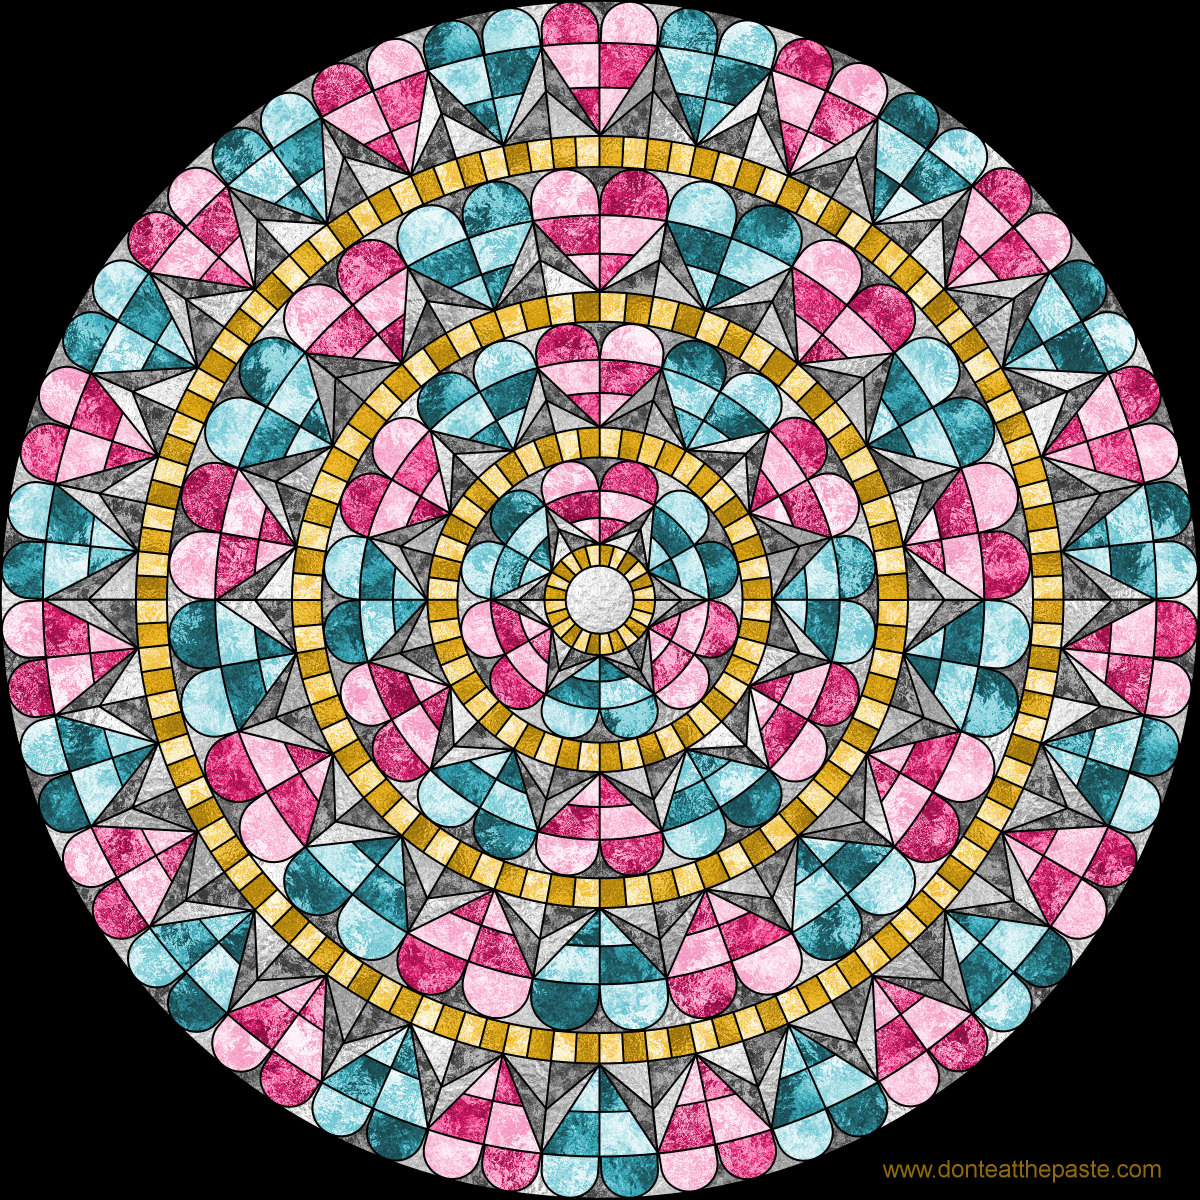
Heart mandala- with a version to color yourself!

So this was not originally going to be a heart design. I was starting a mandala inspired by the geometry of rose windows, and then noticed a heart shaped element appearing. So I emphasized that to create this heart rose window. I hope you enjoy coloring it!

Click the images below for a larger version to print and color.

Small jpg version:
heart window mandala to color

Large transparent PNG version:
heart window mandala to color- transparent png version


Tuesday, June 17, 2014

Cute Strawberries printable gift box

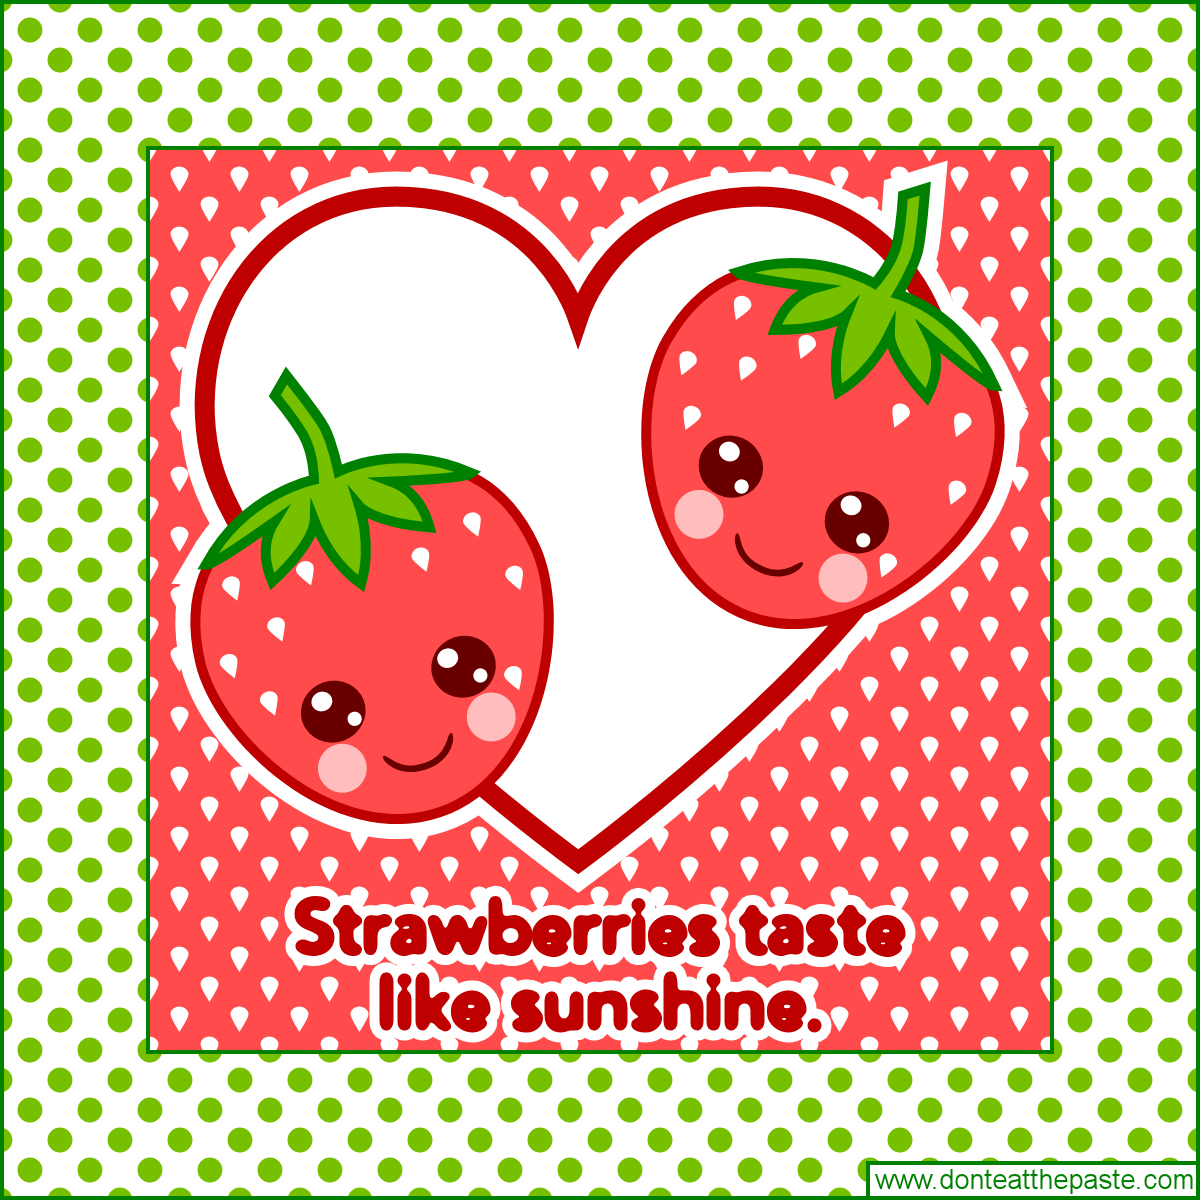
Strawberries taste like sunshine- sweet, sweet sunshine!

I'm gardening Shala lately. Watching my perennials like strawberries getting flowers that will soon be delicious strawberries, picking around the edges of lettuce to add to dinner, and watching my sugar snap peas grow like crazy.

Summer is great! And nothing tastes like summer quite as much as a fresh picked, perfectly ripe strawberry!

I hope you enjoy this little printable gift box. Print on card stock, cut out, score folds, fold, glue!
cute strawberry gift box to print and make

Monday, June 16, 2014

Catching Up with June


Daphne DoAll LaChores and The Amazing Turnip Girl "900 years of time and space and I've never met someone who wasn't important."

June gets to be really busy really fast. With festivals and fairs, and with things growing in the garden and other stuff that needs to be done. The photo above is from Pride Fest 2014. The woman to The Amazing Turnip Girl's left is Daphne DoAll LaChores- a short film about her was nominated for an Emmy in the Cultural category, and you can see that here. If you've never been to your local Pride Fest- it can be a whole lot of fun. It's been a family event for us since TG was very little, and it's something she looks forward to every year. The last couple of years, instead of having a parade, there is an Equality March, and TG dressed up like the Doctor and painted that sign to carry.

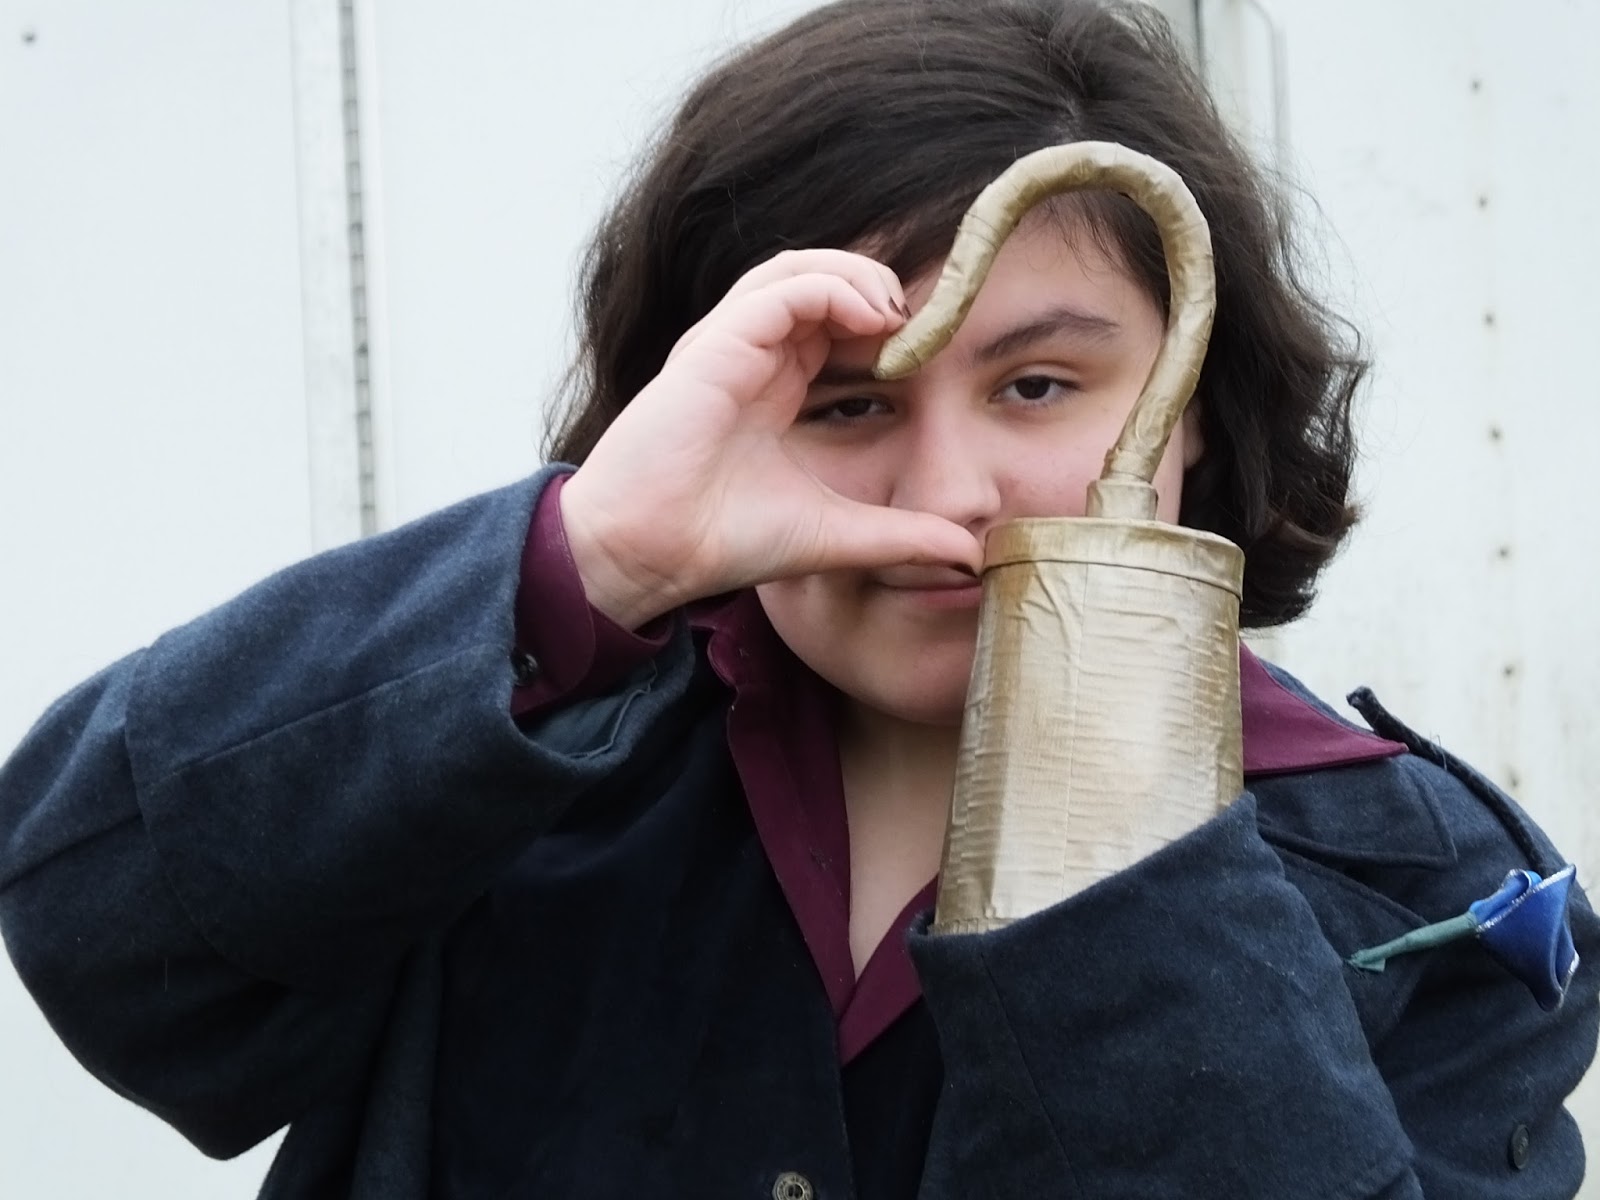
Captain Hook- OUAT, closet cosplay by The Amazing Turnip Girl

More Amazing Turnip Girl! This time at our local ren faire. The first day, even though she didn't know it, was a PIRATE theme. She had decided on her costume without knowledge of that, and closet cosplayed Captain Hook from Once Upon a Time. For people as seriously non-cosplay as I am- closet cosplay is when you put together a costume using what you have on hand, and what's in your closet rather than going all out for an exact replica. The hook is made from a plastic cup, a "gigantic twist tie" (I didn't see it, that's what she told me), layers and layers of the ends of various rolls of Duck tape, and spray painted. 

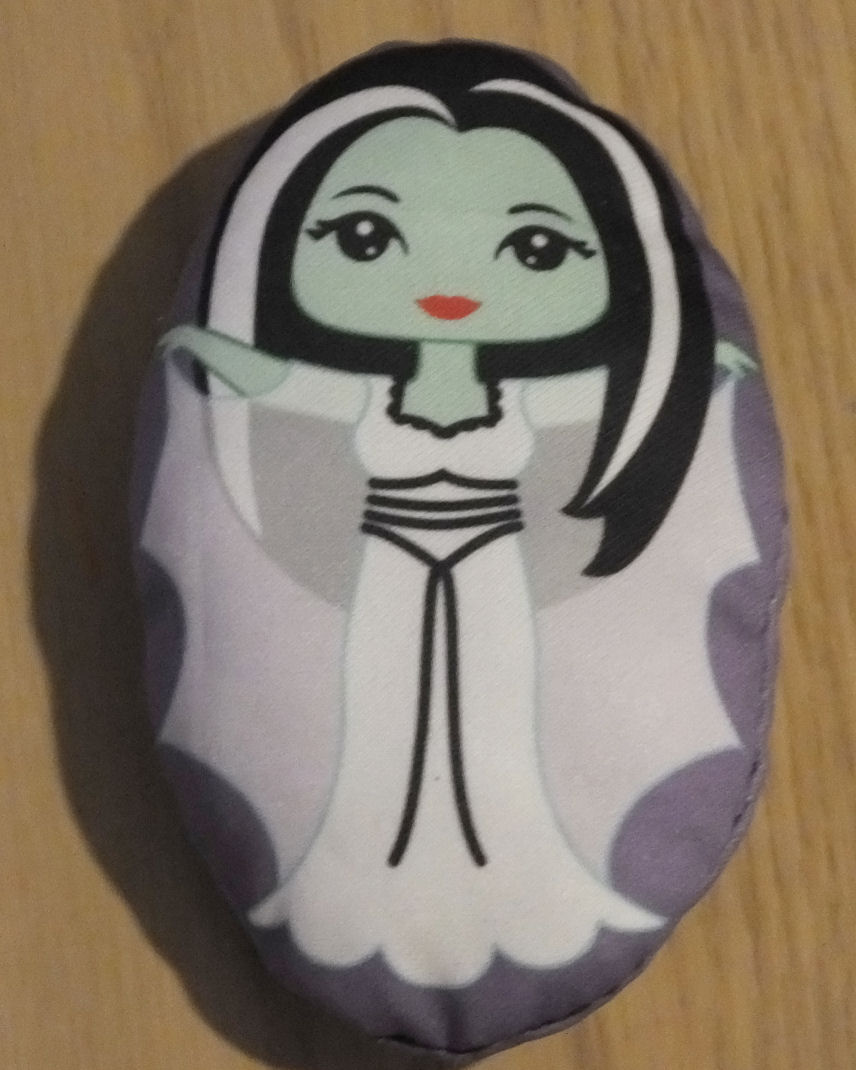
Lily swatch doll

The newest of my swatch dolls. Recently Spoonflower let people who ordered one of their knit fabrics try a swatch of their performance pique. I really love this stuff for swatch dolls, it prints gorgeously, and it's very soft feeling. A little trickier to sew, but worth the extra care. You can get this swatch here.

Today was dandelions- but what we did was gather seeds.
Just wrapped our fingers around the puff balls, pull, dump the little seeds and fluff into a gallon zip bag. Then after we had denuded a lot of dandelions of fluff and gotten some very odd looks from the neighbors- I brought the bag inside, closed it tight, and just started playing with it. Rolling it in my fingers, rubbing it, and shaking it. After a bit I wound up with about a 1/4 cup of seed defluffed. So now we are going to try sprouting the seeds. Also, somehow I wound up covered in dandelion fluff.

OH!!! and the BIG news!!!


Look look!!! Pre-orders are available now on Amazon, and the books are coming out in November and December.

Affiliate links help pay for this site, and seeing these ordered would also be personal exciting. Really.

So how is your month going?

Sunday, June 15, 2014

Book Review- All You Need Is Less

Book Review- All You Need is Less by Madeleine Somerville

I'm a second generation hippie so most of this book is things that I know, it's the way that I grew up. That didn't stop me from reading it (nearly) cover to cover in one sitting.

It's funny, there are parts that I read out loud to my husband because they made me giggle. The style and pacing is informal, well-written and breezy with a good dose of humor. The author talks easily about the silly moments that make up day to day family life and joy. The chapter I skipped was the one about diapers. My own children are young adults, it's a non-issue at this point. There are some adult topics covered, and some adult language, but nothing that I'd have a problem letting a 14 year old read.

There are some great tips in here, for easy ways to change up little things in your routine to live a greener lifestyle, but unlike a lot of books about living in a more eco-friendly way- the emphasis in this book was on reducing. On getting away from consumerism and improving your quality of life and the things in it.

It has lots of the tips and solutions for getting away from harsh chemicals and using more natural things in day to day life and less petroleum by-products. Instructions for cleaning sprays, how to shine your stainless steel, how to wash laundry in less harmful ways. There is a good chapter on gardening for the absolute beginner with some truly helpful tips. She also talks about shampoos, scrubs and skin care.

The author isn't crafty, she freely admits that cooking isn't her strong point and that she's never touched a sewing machine. This is truly attainable greener living by making small changes. My favorite part though was when she pointed out how much redundancy there is in neighborhoods, so many people owning the same things when people could be sharing. It's something to think about.

It's also really funny. She talks about the weird looks you might get when you choose to use a pickle jar for coffee, and how to avoid to being THAT person, you know the one. The one who is so green and smug with it that people try to avoid them.

Yes, I do recommend this book and plan to share it with friends.

You can find the author's blog HERE.

--------the part that isn't going on my Amazon review and it's just for my regular readers-------

I do have one quibble about the whole thing. She talked about how to get rid of DANDELIONS.
I yelled at the book at that point "You just lost major hippie points."
You all know how I feel about dandelions right? They are one of the first foods available for bees, they are bright and pretty, fried dandelion blossoms are a favorite food in my family and we plan to try sprouting dandelion microgreens soon. We eat the leaves in tacos and salads, and they are what I consider the "first crop of summer".
Why would anyone want to get rid of dandelions? I've watched kids come to my yard to gather handfuls for their moms- and they can because my daughter made so many wishes when she was little on them. She also used to pick them for me.
Be kind to dandelions.
(disclaimer- I do understand that sometimes your neighbors or landlords object strongly to dandelions, so knowing how to kill them without using toxic chemicals is a good thing. I just really, really love dandelions)


Published by Viva Editions


Amazon.com affiliate links don't affect your cost, and provide extra income to me personally, which helps support this site.

I received a complimentary copy of this book to review, I received no other compensation, and my review is my honest opinion of the book. You can read more about my review policy here.


Wednesday, June 11, 2014

Banana Chocolate Good

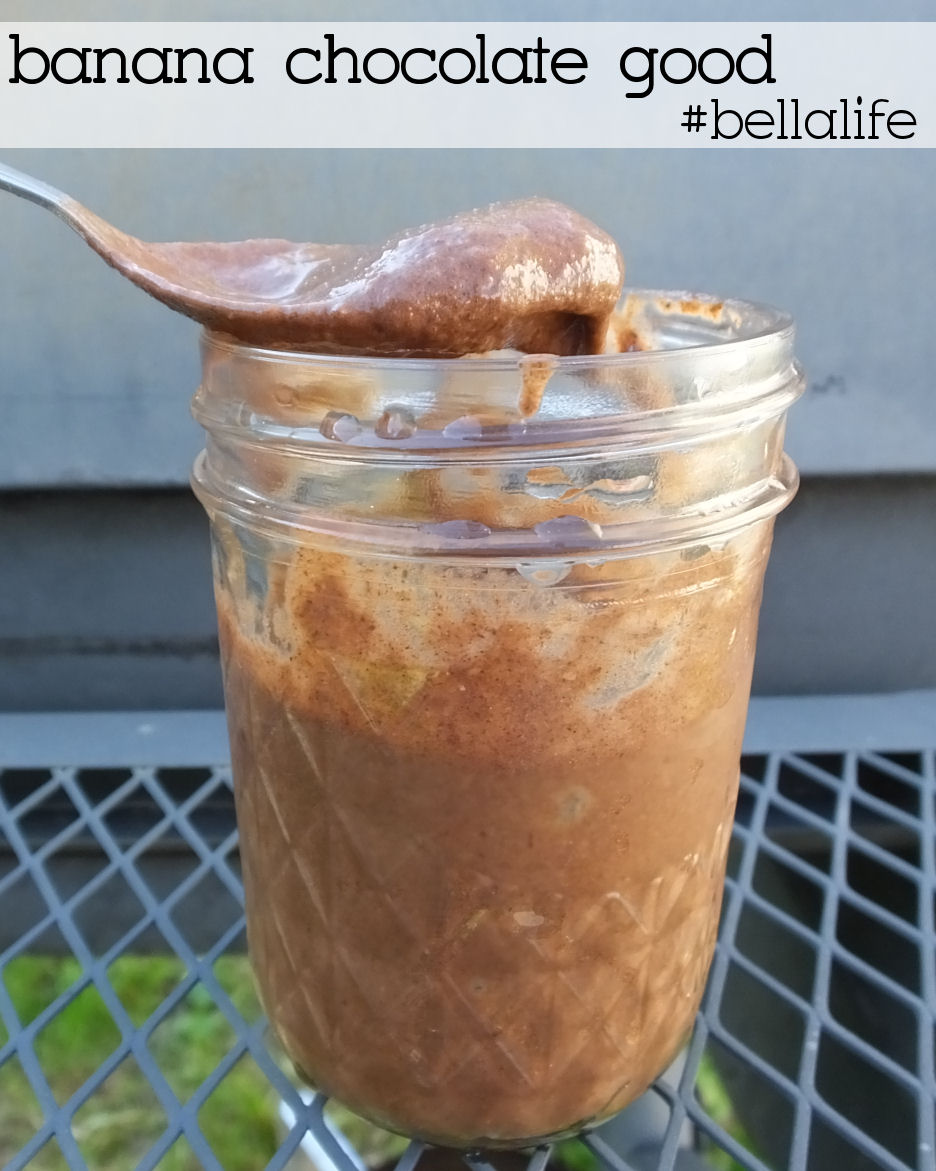
Frozen chocolate blended treat #BellaLife #recipes #avocados #bananas #healthy

The name of this is because TG and I couldn't agree if it was more like a frozen pudding or a soft serve ice "cream". We did both agree it is FANTASTIC. The hashtag? Because we used a Bella Rocket Extract Pro to make it. We kind of love this blender. It has a 700w motor, and when we got it, one of the first things my daughter did was throw coffee beans in it. I screamed "STOP!" and she stopped the blender. I was convinced she might have broken it because coffee beans in a blender? In that couple of seconds between her starting the blender and me figuring out why it was so noisy- the coffee beans were ground to a espresso fineness.

So for this treat? No problem.

This can be made vegan easily by using a non-dairy milk. We used regular milk.
Banana Chocolate Goodness
Makes 2 servings
You will need:
2 1/2 frozen bananas- we just peel them, cut them half, and freeze them on cookie sheets, then put them in a zipper bag in the freezer
1/2 of a frozen ripe avocado- same thing as above
1/2 cup milk
1 Tbsp. sweetener of choice if you like it sweet- we used organic cane sugar
1 pinch of salt- we used French grey
3 Tbs unsweetened cocoa powder- Oh the antioxidant goodness! We used a raw cocoa powder, but use whatever kind you like

Just put it all in your blender and blend until smooth. The photo above isn't quite as smooth as the one I'm eating right now- because TG blended my serving just a second or two longer.
It's all full of nice healthy things, but it's absolutely a treat.

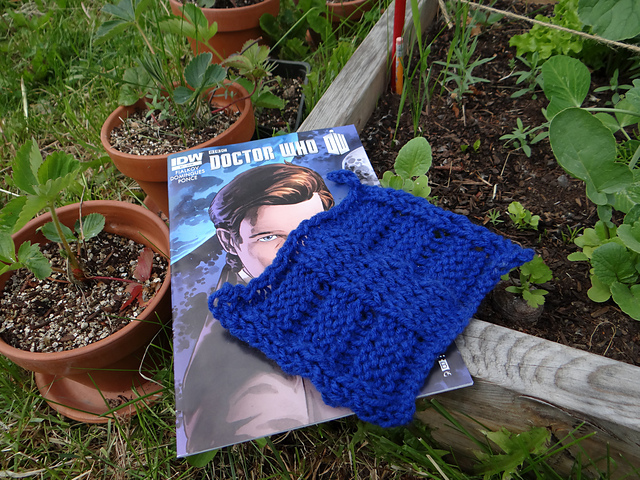
Spoilers Washcloth (knit pattern) by The Amazing Turnip Girl

Spoilers Washcloth

From The Amazing Turnip Girl's Ravelry Page:
just a little scrubbie i made. 
i tried to make it look like river’s diary. 
i took the photos in my family’s garden.
Most of her project instructions are "I just did this until it looked like this" and her knitting instructions are pretty similar. She works without patterns, and usually without taking notes. However, she decided to make a second one of these, so I gave her a piece of graph paper and told her to mark the purl stitches.

The needles she is using are this set that I made her-

Made with 1/4 inch oak dowels, they are just over 6 mm in diameter, or between a size 10 and size 10.5 needle. Either size will work. 

The pattern is mostly garter stitch with some purl stitch panels. If you are a beginning knitter, it's an easy, quick project that will help you get more comfortable with purling. The end result is a nicely textured scrubbie. Using cotton yarn, it will be insanely soft, for a more exfoliating scrub- use acrylic. 

Worsted weight yarn- the open blocks are knit stitches, the dots are purls.


Cast  on 23 stitches
Knit 3 rows
Row 4-7: Knit 3, purl 6, knit 5, purl 6, knit 3
Rows 8-9: Knit across
Rows 10-13: Knit 3, purl 6, knit 5, purl 6, knit 3
Rows 14-15: Knit across
Rows 16-19: Knit 3, purl 6, knit 5, purl 6, knit 3
Rows 20-22: Knit across
Bind off. Weave in ends. 
Make an i-cord to hang it if you'd like. 

Extra bonus Amazing Turnip Girl craft geek:


You can find out more about how she made her Benny the Lego Space Guy costume here on Cut Out and Keep!


Monday, June 9, 2014

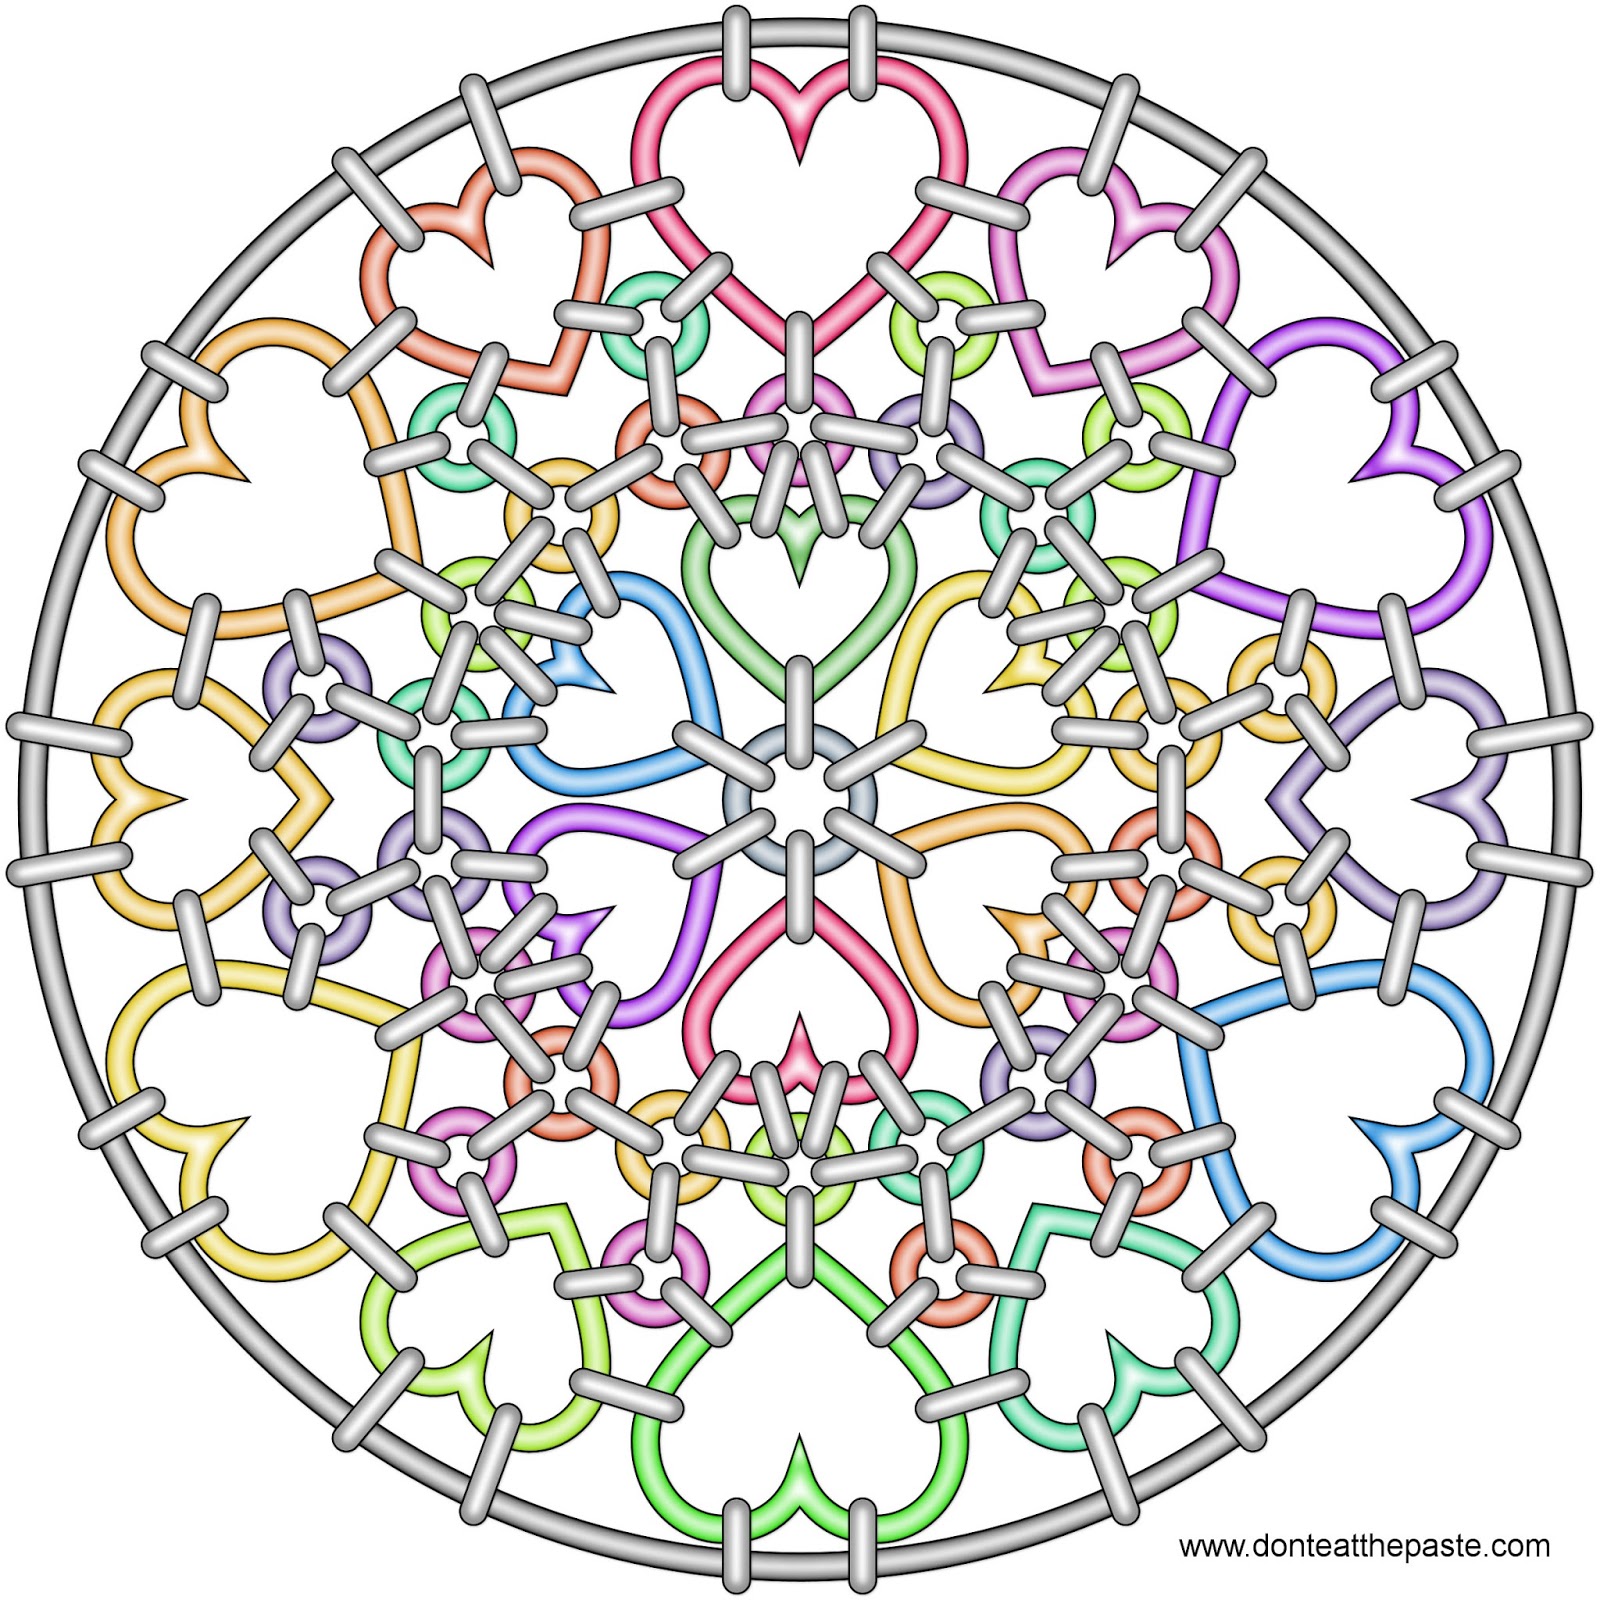
Heartmail mandala

Heart chainmail mandala to color

I hope you enjoy this mandala to color! It's a hearts theme for Loving Day, and also something like a chainmail suncatcher because I read  Chainmail Made Easy: 8 Wicked Weaves with 8 Practical Projects (affiliate link) before going to bed last night.

Click the images below for a larger version to print and color.
Small JPG version:
Heart chainmail mandala to color. Also available in transparent PNG format.

Large transparent PNG:
Heart chainmail mandala to color. Also available in jpg format.


Friday, June 6, 2014

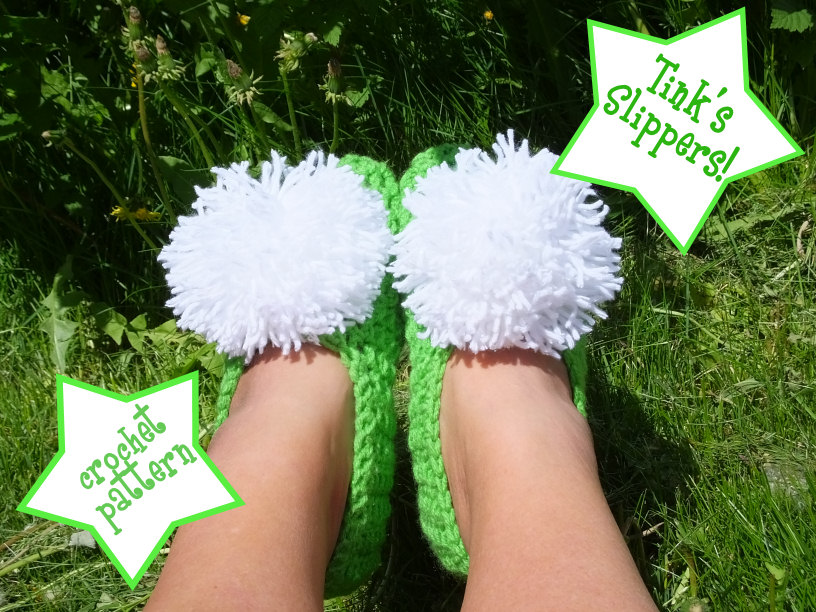
Tink Slippers- crochet pattern

Tinkerbell slippers- crocheted

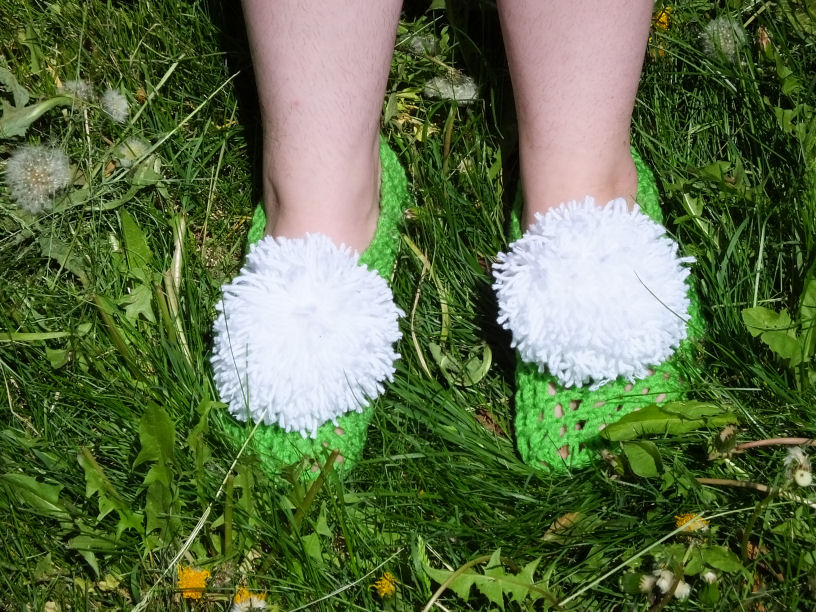
Inspired by that famous fairy! I hope you like this pattern. It was a lot of fun to make and now I have great big pom poms to wear on my feet. My feet are size 7.5-8. The same slippers are shown on my daughter's size 8.5-9 feet at the end.

These slippers are sized for medium sized women's feet, but the pattern can be adjusted easily. Adding a round in rounds 4-6 or a plain row will make them longer. Starting with 12 stitches instead of 10 will make it a little deeper, and adding a couple chains in round 1 will make it bigger around.
You can also start with less stitches to make them smaller. However for all those methods- you'll have to rework the decreases to space them evenly to get a custom fit to your foot.
For just a little off- say a size 10 rather than an 8 or 9- moving up a hook size will work, or for a size 6 or 7, move down a hook size.

Size G hook
Worsted weight yarn- I used Red Heart Super Saver in Spring Green and Red Heart Shimmer in Snow.
Yarn needle
Scissors

Ch=chain stitch
sc= single crochet
dc= double crochet
hdc= half double crochet
dec dc= decrease double crochet, yarn over, insert hook in stitch, yarn over, draw up loop (3 loops on hook), yarn over, pull through 2 loops, (2 loops on hook), insert hook in next stitch, yarn over, draw up loop, yarn over, pull through 2 loops, yarn over, pull through 3 loops.
st or sts= stitch or stitches

Slipper- Make 2
Using the green yarn-
Chain 11

Reinforce the chain- skip first st, sl st up 10 sts (10 sts)
First row is worked in the sides of the reinforced chain.
Row 1: Ch 1 to turn (does not count as first st), sc in first st, dc in next 8 sts, 6 dc in bottom st, working on the other side of the chain, dc in next 8 sts, sc in first st (24 sts)
Row 2: Ch 1 to turn (does not count as first st), sc in first st, dc in next 22 sts, sc in last st
Row 3: Ch 3 (counts as first st), dc in next st, dc in each st (24 sts)
Rows 4-8: Repeat Row 3

Round 1: Ch 3 (counts as first st), dc in next st, dc in next 22 sts,  when you reach the end, chain 6 loosely, being careful not to twist, sl st to join to 3rd st of starting ch
Round 2: Ch 3 (counts as first st), dc in next st, dc in next 22 sts, dc in first ch, hdc in next ch, sc in next 2 chs, hdc in next ch, dc in last ch, sl st to join to 3rd st of starting ch (30 sts)
Round 3: Ch 3 (counts as first st), dc in next st, dc in next 23 sts, hdc in next st, sc in next 2 sts, hdc in next st, dc in next st, sl st to join to 3rd st of starting ch
Round 4-5: Ch 3 (counts as first st), dc in next st, dc in next 28 sts, sl st to join to 3rd st of starting ch
Round 6: Ch 3 (counts as first st), dc in next 7 stitches, dec dc over next 2 sts, dc in next 8 sts, dec dc over next 2 sts, dc in next 8 sts, dc over next 2 sts,sl st to join (27 sts)
Round 7: Ch 3 (counts as first st), dc in next 6 stitches, dec dc over next 2 sts, dc in next 7 sts, dec dc over next 2 sts, dc in next 7 sts, dc over next 2 sts,sl st to join (24 sts)
Round 8: Ch 3 (counts as first st), dc in next 5 stitches, dec dc over next 2 sts, dc in next 6 sts, dec dc over next 2 sts, dc in next 6 sts, dc over next 2 sts,sl st to join (21 sts)
Round 9: Ch 3 (counts as first st), dc in next 4 stitches, dec dc over next 2 sts, dc in next 5 sts, dec dc over next 2 sts, dc in next 5 sts, dc over next 2 sts,sl st to join (18 sts)
Round 10: Ch 3 (counts as first st), dc in next 3 stitches, dec dc over next 2 sts, dc in next 4 sts, dec dc over next 2 sts, dc in next 4 sts, dc over next 2 sts,sl st to join (15 sts)
Round 11: Ch 3 (counts as first st), dec dc over next 2 sts, dc in next st, dc over next 2 sts, dc in next st, dec dc over next 2 sts, dc in next st, dec dc over next 2 sts, dc in next st, dec dc over next 2 sts (10 sts)

Break off yarn leaving a tail.

Weave the tail into the last 10 stitches, and cinch them down. Knot off the tail, weave it in and trim.

Join yarn at heel, sc around the top of the slipper, sl st to join, break off and weave in ends.

Pom poms= make 2
With white yarn-

To make the large pom poms, I held my fingers slightly apart and wrapped the glistening white yarn around 4 fingers 150 times. Then used a 12 inch piece of the same yarn and threaded it through my fingers, because my fingers were slightly apart it was easy to slide it through, and tied it off in the middle. Carefully slip the yarn off the fingers, adjust the tie if it needs it, and knot down firmly, then wrap the tie piece around it again and knot again, and repeat.
Flatten the bundle into a little round disk, and cut open all the loops. Trim into a circle while holding it flat. Fluff it out and trim to make round.
Stitch the pom poms in place with the tails on the 3rd row from the top opening and centered on the front of the slippers.
Tink's Slippers- crochet pattern


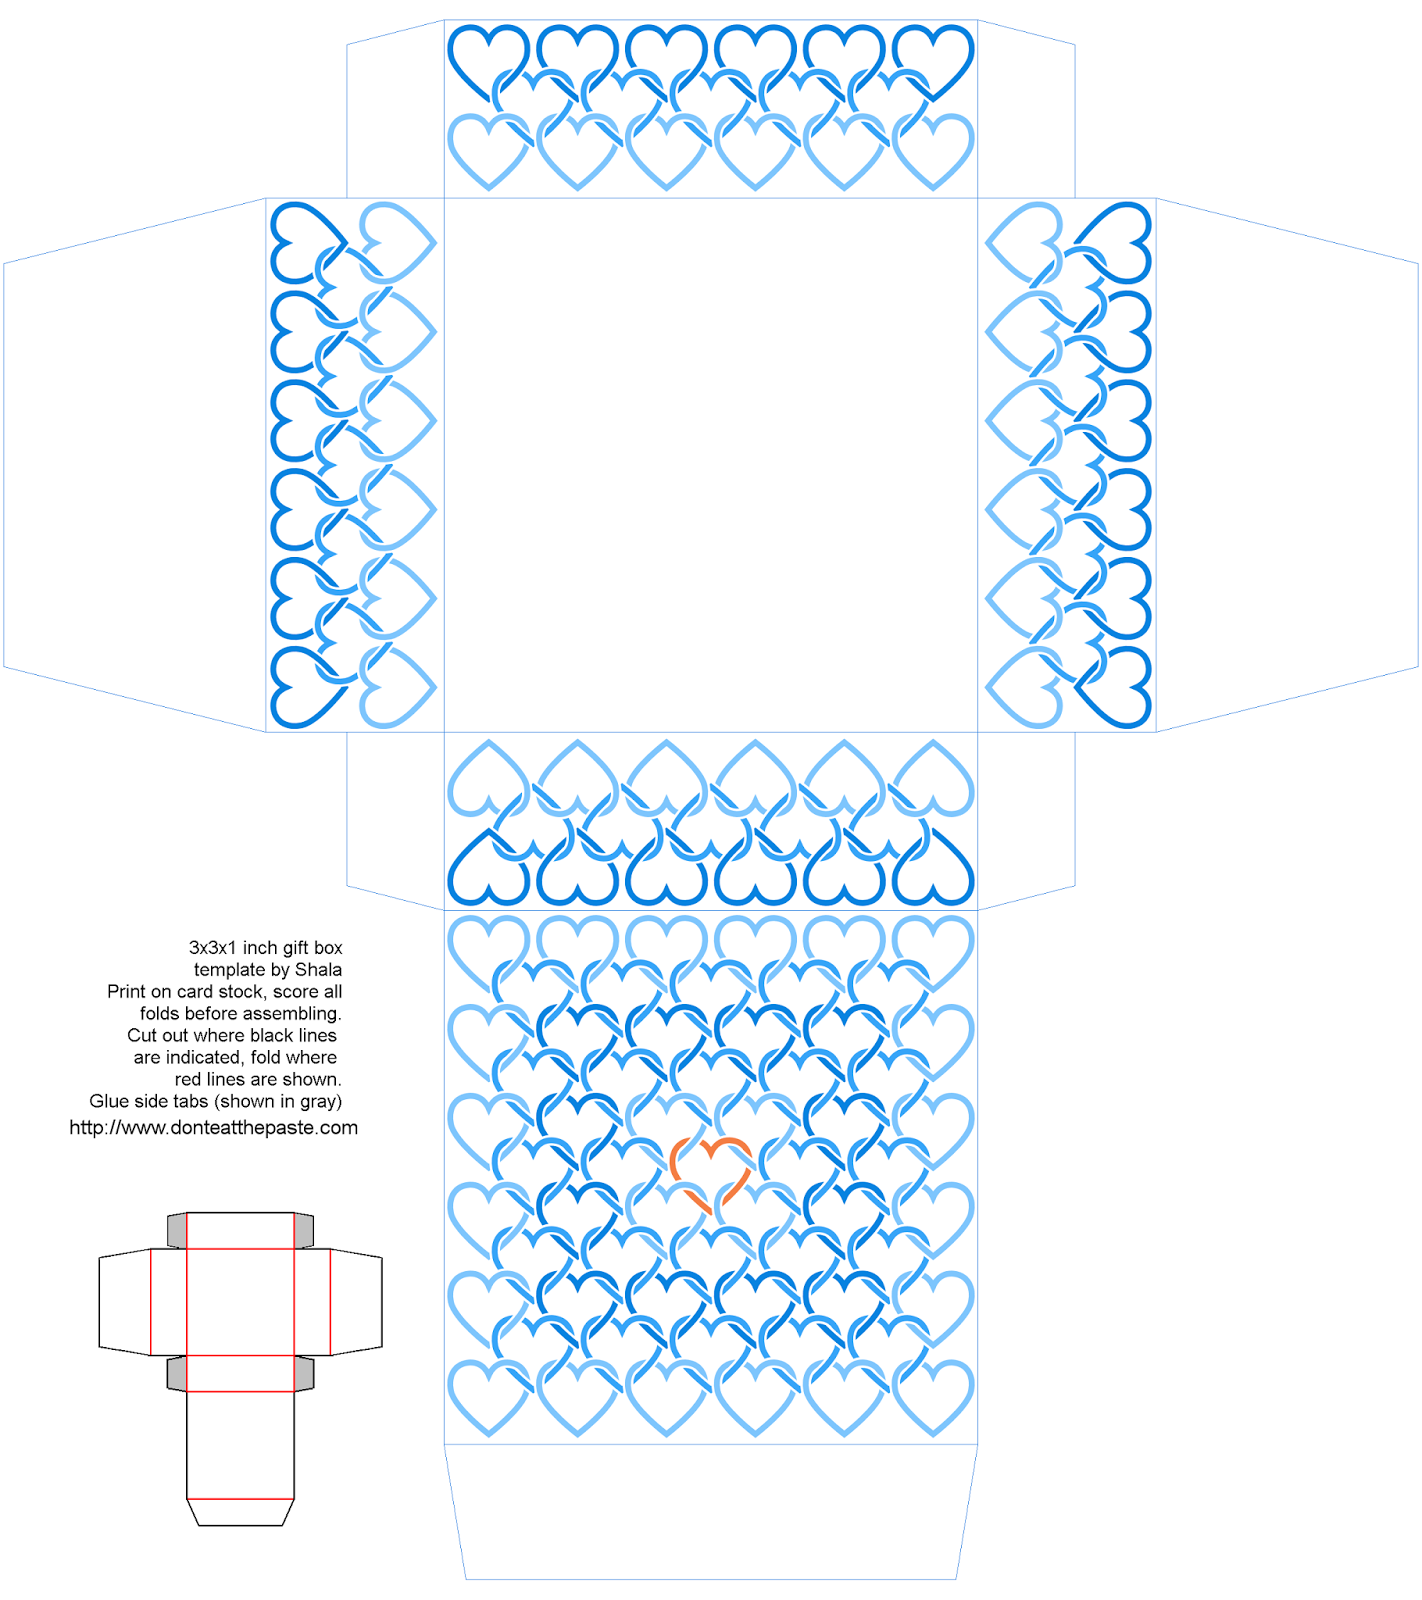
Linked hearts boxes- 2 sizes, 2 colors

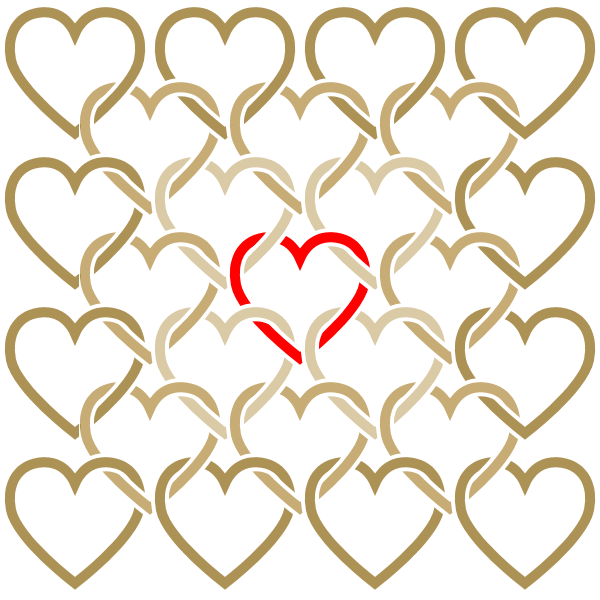
Linked hearts

This linked heart design is inspired by Loving Day (June 12) and the wedding season. I hope you like it.
The printable boxes come in 2 different colorways, and in 2x2x2 inch size and 3x3x1 inch size. Click on the images for larger versions, print on card stock, cut out, score folds, fold and glue!
2x2x2 inch printable linked hearts box in tan and red- also available in a different size and in blue and orange
3x3x1 inch printable linked hearts box in tan and red- also available in a different size and in blue and orange

2x2x2 inch printable linked hearts box in blue and orange - also available in a different size and in tan and red
3x3x1 inch printable linked hearts box in blue and orange - also available in a different size and in tan and red


Monday, June 2, 2014

Dots Mandala to color

Dots mandala- turquoise and coral effect
My hours are all inside out because of reading too much and sleeping too little. So the other night after I finishing the new Harry Dresden book- I started drawing dots. Lots and lots of dots. This is the result. I hope you like it.
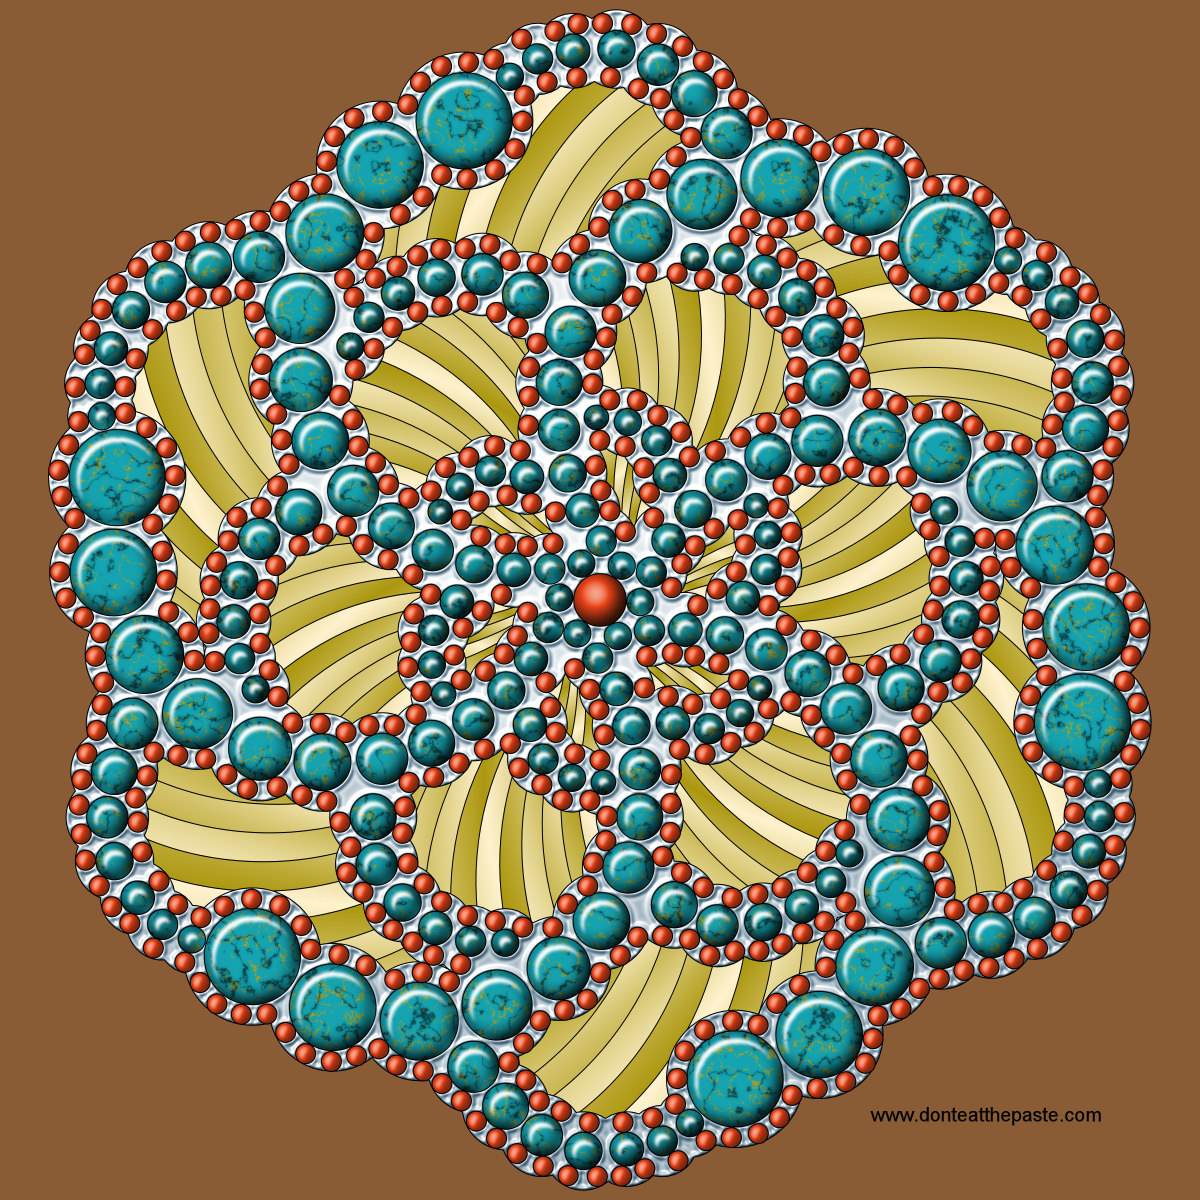
I'm really happy with the digital turquoise effect!!

Click the images below to get a larger version to print and color.
Small JPG:
Dotted mandala to color- also available in transparent PNG #coloring

Large transparent PNG version:
Dotted mandala to color- also available as a jpg #coloring