Printing Tips

Check out my printing tips if you're having problems printing to the right size
If you'd like to support this site and all the free things I post- please check out my Don't Eat the Paste Mandala collection coloring book for 9.99 at Amazon.

Thursday, August 28, 2014

A different kind of coloring page

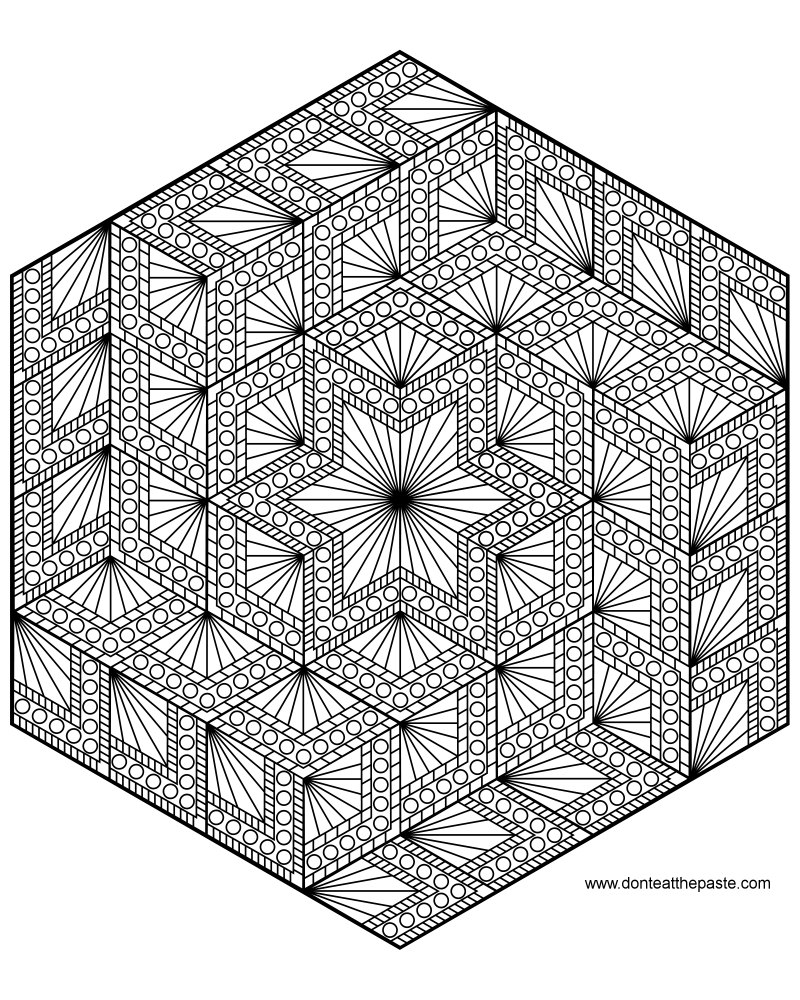
Tumbling block peace symbol

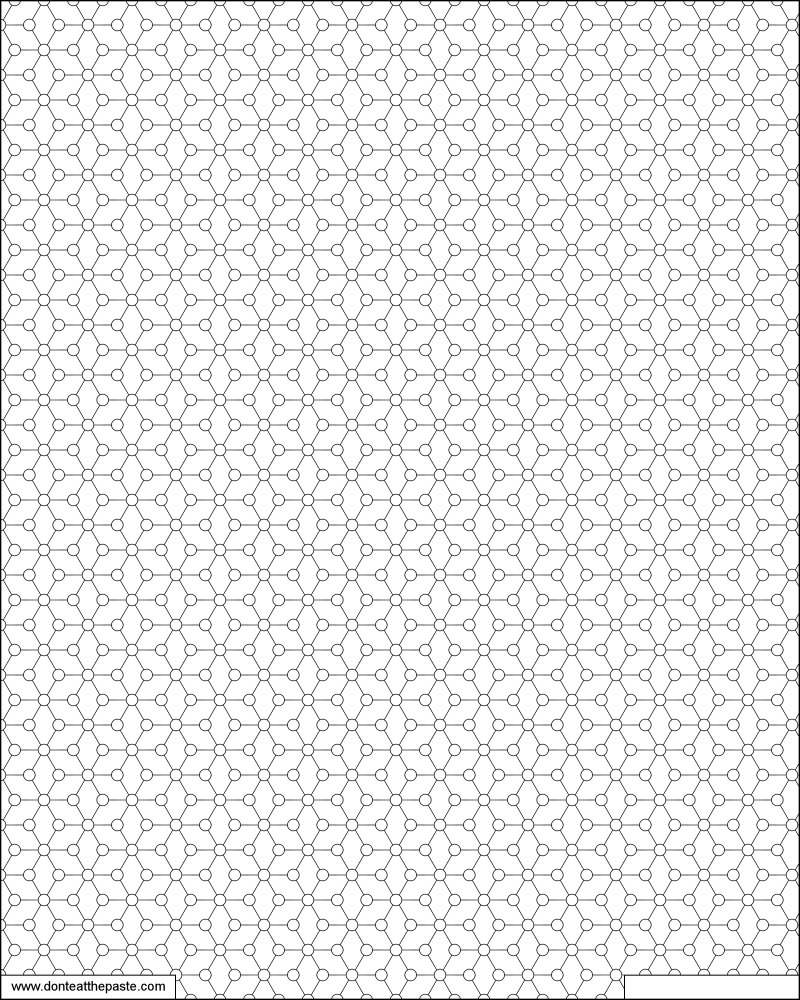
So today's coloring page is something different than usual. Instead of being a picture to color in, it's a geometric tiled pattern you can fill in with your own design. You can do something like my example above, or follow your own muse. There is empty block at the bottom, so you can sign it yourself when it's done.

I'd love to see examples if people do like it, you can post them on my Facebook page here.

Click the images below for a larger version to print and color.
Small JPG:
Print and color this geometric tiled pattern with your own design. Available in jpg and transparent PNG.

Larger transparent PNG:
Print and color this geometric tiled pattern with your own design. Available in jpg and transparent PNG.


Tuesday, August 26, 2014

Book review- One Minute Paper Airplanes

Review- One Minute Paper Airplanes
This book and kit includes a book which has a good amount of information about making and launching paper airplanes, how to trouble shoot to get them to fly well and a bit about the dynamics of gliding flight in a fun way.

The include planes are printed in bright, smooth color on lightweight card stock, and can be popped out easily. They are not pre-scored, so you'll have to fold them yourself. Following the instructions in the book it's very easy. The book recommends using a ruler to fold, and I used a thin metal ruler and it made the straight folds. After doing the folds, I burnished them with a craft stick for very sharp folds, some parts are multilayered. There was an issue on the punch out of one of them where not all of the little V shaped areas to create the launching groove were punched, but a quick nip with small scissors fixed that. You can use either a stapler or glue to assemble them, but they are designed to be assembled using a stapler. Little lines indicate where the staples go.

The planes are all different shapes and themes. Some are very simple, some are a bit more complicated and might take longer than a minute to make. The big fun is in launching them. All the planes are designed to be launched using a rubber band launcher. You give the plane a light test throw which won't send it more than 10 feet to see if you need to adjust anything- tips in the book tell you how to adjust for drag and various other issues. After you have it ready, take it somewhere you have room and let it fly with the launcher!

So it's a bit of education, and a lot of fun. You get to make the planes, and some people will be inspired to design their own after trying the planes in the book. Then you get to launch them and see how far the different models fly and how well they fly.

My son and I had a lot of fun making and launching planes. It's a fun paper craft kit, the planes are well-designed for flight and appearance with a bold graphic appeal.

Like Tuttle Publishing on Facebook to find out about their other books.


Amazon.com affiliate links don't affect your cost, and provide extra income to me personally, which helps support this site.

I received a complimentary copy of this book to review, I received no other compensation, and my review is my honest opinion of the book. You can read more about my review policy here.

Sunday, August 24, 2014

Rainbow and umbrella box

Try to be a rainbow in someone's cloud.
You may not control all the events that happen to you, but you can decide not to be reduced by them. Try to be a rainbow in someone's cloud.
-Maya Angelou
For some reason, the word bumbershoot got stuck in my head last night, which inspired this printable rainbow and umbrella gift box. If you like the quote above, you can share it from my Facebook page- Don't Eat the Paste.

Click the image below for a larger version to print on card stock. Print, cut out, score folds, fold, glue!

This is what I wrote on my personal Facebook page yesterday about the word bumbershoot-
Thinking of drawing a rainy day mandala because right now I'm really stuck on bumbershoot as a very fun word. Apparently it's American slang from UMBrella and paraCHUTE. It's a ridiculous word that always means a certain type of umbrella to me. 

Great big dark umbrellas. Umbrellas that won't fold, compact or ever fit into a purse or briefcase. It won't have ruffles or rainbows. This is a properumbrella, it's going to keep you and another person dry. On a rainy day, braver souls will come to be sheltered under your large umbrella. Other people will be too timid of the seriousness of it. This is an umbrella for the person who really doesn't want to be wet, and wishes they wore galoshes to protect their feet. They will step carefully to keep their feet dry. When it's not raining, these large umbrellas wind neatly, and the stick is long enough to be used as a walking cane. Nobody would dare attack a person holding a bumbershoot because they know it can be used as a weapon.

So a bumbershoot is the most serious of umbrellas, but with a very silly name. To me at least.


The umbrella mandala that I'm working on will hopefully be in my next coloring book, but I may do one here as well. 

Thursday, August 21, 2014

Hand Sanitizer Backpack Clip crochet pattern

Hand Sanitizer Backpack Clip crochet pattern #backtoschool
Time for back to school, or you might be like me and find it sometimes helpful to have a small bottle of hand sanitizer available. This was designed for a store brand sanitizer- Kroger to be specific. This crochet pattern might need modification for other bottles to make it fit, but since the only shaping is in the neck area, it should be easy to adjust.

Hand Santizer Backpack Clip Crochet Pattern

You will need:

  • 2 colors of worsted weight yarn- I used Caron Simply Soft 
  • Size G or H hook
  • Carabiner clip with split ring
  • 5/8th inch button
  • Embroidery floss
  • yarn needle to weave in ends
  • tapestry needle to sew on button
  • hand sanitizer- mine is a Kroger brand 2 oz bottle


Stitches:

  • sc=single crochet
  • dc=double crochet
  • sl st=slip stitch
  • ch=chain
  • st or sts= stitch or stitches


Gauge- 3.5 single crochet stitches per inch, 4 rows per inch

Take the ring off your carabiner and slide it on to the main color yarn, push it up out of the way.

Chain 12 loosely, sl st to join being careful not to twist chain

Rnd 1: Ch 1 (does not count as first stitch), sc in same stitch, sc in each st around, sl st to join (12 sts)
Rnd 2: Ch 1 (does not count as first stitch), sc in same stitch,sc in next stitch, 2 dc in next st, 2 dc in next st, sc in next 4 sts, 2 dc in next st, 2 dc in next st, sc in next 2 sts, sl st to join (16 sts) - this round makes the increases and the shoulders of the bottle
Rnds 3-12: Ch 1 (does not count as first stitch), sc in same stitch, sc in each st around, sl st to join (16 sts)
Round 13: Ch 3 (counts as first stitch), dc in next stitch, slide the ring down and around the hook and stitches so it's hanging freely from the ch and dc, sc in next st, sc in each st around, sl st to top chain to join.
Round 14: Ch 1 (does not count as first stitch), sc in same stitch, sc in each st around, sl st to join (16 sts)
Break off yarn and weave in ends

Flap:
Join in accent color 2 stitches before the last stitch of the previous round.
Row 1: Ch 1 (does not count as first stitch), sc in same stitch,sc in next 5 stitches
Row 2-9: Ch 1 to turn (does not count as first stich),sc in same stitch, sc in each stitch across (6 sts)
Row 10:  Ch 1 to turn (does not count as first stich),sc in same stitch, sc in next st, ch 2 loosely, skip 2 sts, sc in next st, sc in next st.
Row 11-12:Ch 1 to turn (does not count as first stich),sc in same stitch, sc in each stitch across (6 sts)
Break off yarn, weave in ends.

Put the bottle in the pouch, and pull flap over the bottle, mark where the button will go, and stitch button into place.

Put carabiner on split ring and attach to backpack.

The nice thing about this is that it's easy to take the bottle out to refill or replace it, and you can make it in any colors. So you can match for school spirit, or you can use your favorite colors. Acrylic yarn makes it washable.

This is the bottle I used.

Wednesday, August 20, 2014

Book Review- Little One Yard Wonders

Little One-Yard Wonders- book review

This is one of those books that I'd recommend to anyone with any reason to give gifts to children. Not just for parents and grandparents- because you'll be able to find the age appropriate gift in this book, and most of them are inexpensive and fairly quick projects.

So I'm going to start with the really good news- I talked to the Storey Publishing about my FAVORITE project in this whole book, and they quite kindly are allowing me to post here for all of you for free.
Hexie Pouf designed by Adrienne Lodico from Little One-Yard Wonders by Rebecca Yaker and Patricia Hoskins, photography (c) by Julie Toy, used with permission from Storey Publishing, 2014.
Hexie Pouf designed by Adrienne Lodico from Little One-Yard Wonders by Rebecca Yaker and Patricia Hoskins, photography (c) by Julie Toy, used with permission from Storey Publishing, 2014.
The Hexie Pouf! This reminds me of the big floor pillows my mom had, but more stylish and completely up to date- these have covers that can be washed, and are perfect for a lot of ages.
Click link to download:
Hexie Pouf PDF 

I want a stack of them. Spoonflower's Eco Canvas is the right width, so you can even get custom printed fabric to make them. 

There are so many really clever and really cute projects in this book. Like the other One Skein and One Yard Wonder books, these are collections of projects by different designers in different styles. This has some great things for boys as well as girls or things like the Hexie Pouf that are easy to customize to suit different tastes.
A few favorites (because there are 101 projects in the book which is too much to talk about all of them)
Clothes- a tiered skirt that looks just like the ones my mom made me, the adorable shirt you can see on the cover, a Monster towel, and a fleece hoodie.
Toys- The Heigh Ho Horsey Marionette, the  really clever House in a Hallway, the whimsical Mushroom Tea Party and the Oct-toy-pus Animal Organizer
Practical projects- the Hexie pouf, the Booster chair, Small and Secret Diaper Bag and Changing Pad

Complete instructions, gorgeous photos, patterns and drafting instructions included. The book is spiral bound so it will lie flat while you're working and the patterns fit into a sleeve on the inside front cover. The range of projects, ages and the fact that most of them are easy enough for a beginner but still very stylish, trendy, and usable make this a book that I happily recommend. 

Like Storey Publishing on Facebook for giveaways, recipes, projects and news about new books. 

You can order this book from Amazon using the link below-


Amazon.com affiliate links don't affect your cost, and provide extra income to me personally, which helps support this site.

I received a complimentary copy of this book to review, I received no other compensation, and my review is my honest opinion of the book. You can read more about my review policy here.

Sunday, August 17, 2014

New mandala based on my new logo

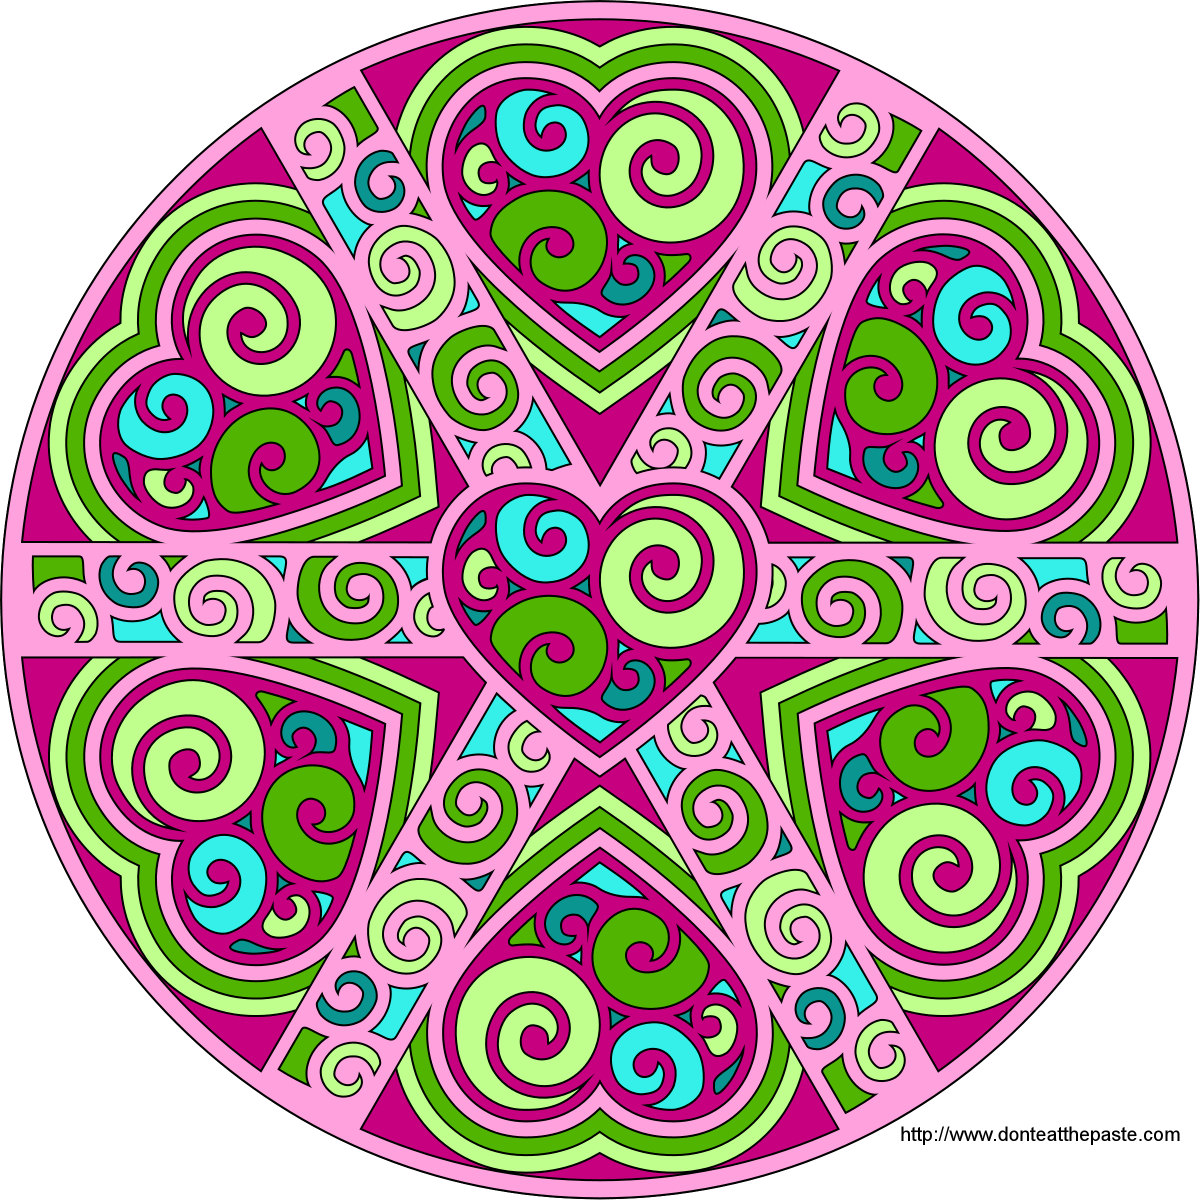
Swirled Hearts Mandala
If you'll look above, you'll notice that I changed my banner. I re-drew the heart and bar, and rearranged it a little. Because I really like the new heart, I put it on this mandala. I hope you enjoy it!

Click the images below for larger versions to print and color.

Small jpg version:
swirled heart mandala to print and color- also available as a transparent PNG

Larger transparent PNG version:
swirled heart mandala to print and color- also available as a jpg


Saturday, August 16, 2014

International Can-It-Forward Day webcasts!

You can watch them here if you'd like.

Ball® has so many things planned for today. Don't forget to chat on Twitter using #canitforward and directing tweets to @BallCanning. The parts of the schedule that I'm really looking forward to are The Mixology demo AND they are doing a demo for the salsa that I wanted to make!

Friday, August 15, 2014

It's so easy being green- tomatoes, jars and salsa (with a giveaway!)


You already know that we are big fans of Ball® jars and food preservation products. We use them for everything. Drinking glasses with their new lids, canning!! making yogurt and more recently making chia pudding. 

Ball® sent me some really cool things to review, use and enjoy AND they are going to give away the same things to one lucky reader!

The Ball Blue Book® Guide is THE go to guide for food preservation. Between this book and a good extension service, you have a wealth of information ready to go for preserving your garden and summer market finds for the year. 

The Ball® Heritage Green Jars are my favorite. It's hard to choose, because the Elite jars are so stylish, and last year's blue jars are my daughter's favorite color- but green is my favorite. Look how pretty that color is! This year they come in two sizes- pints and quarts. 

The Herb Series
The  Ball® Dry Herb Jars are really nice. If you grow herbs (and you should, it's so easy and can be done in containers)- all you do is hang them to dry, then after they are completely dry, put them in the jars. I like the jars because they are nice, wide and easy to fill compared to using standard spice jars and a funnel. They also have shaker tops. Those are the jars with the black lids, the green flips up to reveal generously sized holes for shaking crushed herbs into your recipes. 

The  Ball® 5 Blade Herb Scissors are really helpful for fresh herbs. If you look on top of the sheath for them, you can see some chives that I've chopped into nice small rings. Already to go into all sorts of summer recipes, they also work fantastically well for leafy herbs like cilantro. 

At the end of this post, I'll tell you how you can win all these things, plus a Fresh Herb Keeper, and Ball® Frozen Herb Starters. The Ball® Fresh Herb Keeper is the ideal way to keep things like cilantro fresh in your fridge for a couple of days. Those leafy herbs that tend to wilt too quickly stay fresh and pretty enough to use for a garnish in the keeper, and the Frozen Herb Starters are silicone trays with lids that you can make frozen cubes that are ready for recipes. Put your favorite soup seasonings stock or water and freeze for fresh flavor that's ready to go, or you can use olive oil and other fats as well. 


Ball® Canning and International Can-It-Forward-Day

Tomorrow, August 16th, there will be events across the Ball® Canning social channels. They are pretty nifty. A live webcast canning demonstration by Chef  Hugh Acheson, a demonstration of how to make Pepper Jelly using the Ball® FreshTECH Automatic Jam and Jelly Maker (I have one, and love it, my daughter loves it even more), crafts, even more canning and recipes- check the link above for a complete schedule and follow Ball® on their social channels- 
@BallCanning on Twitter, Follow BallCanning on Pinterest, like on BallCanning on Facebook

 Did you see the little tomatoes in the photo above? 
I have 8 beautiful tomato plants, and so far have had 2 red tomatoes. There are a lot of flowers, and a lot of green tomatoes. A quick search on FreshPreserving.com yielded this recipe for a salsa verde that uses the Ball® FreshTECH Automatic Jam and Jelly Maker. So easy, we have the cilantro and tomatoes in our garden, the rest of the fresh ingredients can be gotten at a farmer's market, and it will look gorgeous in those green jars. 

So do you want to win everything I mentioned? 

  • Ball Blue Book® Guide 
  • Ball® Heritage Green Jars pint and quart size
  • Ball® Dry Herb Jars
  • Ball® 5 Blade Herb Scissors
  • Ball®Fresh Herb Keeper
  • Ball® Frozen Herb Starters
Leave a comment here or on my Facebook post 

a Rafflecopter giveaway

Thursday, August 14, 2014

Stained Glass Knot Box

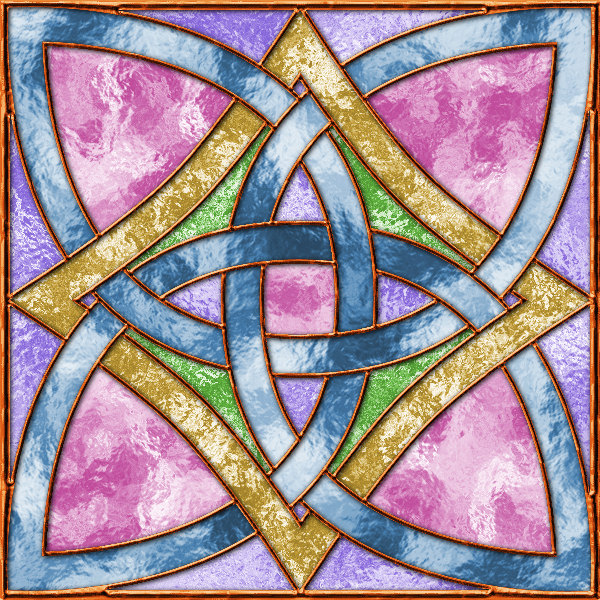
Stained glass knot
I hope you enjoy this simple print and make 2x2 all occasion gift box. Click image for larger version, print on card stock, cut out, score lines, fold, glue!

One of my readers told me that knots were her favorite, and I haven't been doing a lot of them lately. This is a fairly easy knot.


Stained glass effect knot box to print and make #papercrafts

Check out there knots to color or stained glass printables for more projects. 

In other news- I'm in a serious case of *want* for Gipsy Dharma boots. Have you seen them? Since there is a new coloring book in the works, I was thinking of buying a pair when that's done. They are gorgeous, the boots of my dreams (as long as it's not winter). Plus bonus! It's ethical footwear. The leather is sourced carefully, and it's a small business/artisan making the boots. 


Sunday, August 10, 2014

Diamond hexagon mandala to color


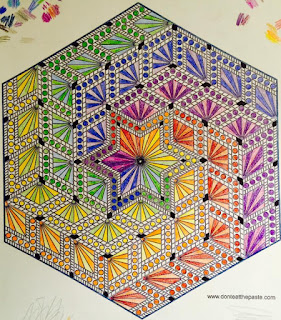
Hand colored hexagon diamonds mandala- colored by Brandy Viele

Originally I didn't post a colored version of this mandala- then I saw this gorgeously hand colored version posted on a group on Facebook and asked for permission to use it. Hand colored  by Brandy Viele. I love what she did with it!

Small jpg version:
Diamond hexagon geometric mandala to color- also available in a larger transparent PNG.

Large transparent PNG version:
Diamond hexagon geometric mandala to color- also available in a smaller jpg

Saturday, August 9, 2014

Book Review- Hex Weave & Mad Weave

Book Review- Hex Weave and Mad Weave


Hex Weave and Mad Weave : An Introduction to Triaxial Weaving by Elizabeth Lang-Harris and Charlene St. John

Primarily used in basketry, triaxial weaving can be used in fabric and paper arts. This book starts with an introduction to the supplies you'll need to start, and to the basic principles behind these intriguing weaves.

The instructions are well written, and the photos are fantastic. The quick start projects are nice too. They are basic projects which show how to use the weaves in practical applications. After learning how to create the weaves, finish them off, and apply them to different things, you can use the techniques in your own art easily. The instructions and examples are complete and easy to follow. The diagrams show the strips in different colors to make it easy to follow the weaving.

The authors show how color works in the weaves to create patterns, and the patterns are nice, neat tessellations. One of my favorite applications is using ribbons to create the weave, using the right colors and with the ribbons woven tightly, they look like traditional quilting patterns but worked in tiny scale without having to mess with small pieces. I like the star and motif patterns, but the way you can also weave up a perfect tumbling block pattern in mad weave is really neat.

Working with paper for more open patterns, you can see the stars, hexagons and triangles easily. I recommend picking up a package of quilling strips for practicing the weaves initially. I had a package on hand, and working with the perfectly cut strips made it easy to see how to build the hexagons. The book also talks about all the shapes possible with hexagons. It's easy to build a radially symmetrical mandala or a tessellating pattern using these techniques.

If you enjoy more mathematical crafts and hands on geometry, you'll probably enjoy this book a lot. If you enjoy small weaving projects, it's also a good choice.

Recommended!
Published by Schiffer Publishing.

Amazon.com affiliate links don't affect your cost, and provide extra income to me personally, which helps support this site.

I received a complimentary copy of this book to review, I received no other compensation, and my review is my honest opinion of the book. You can read more about my review policy here.

Wednesday, August 6, 2014

Designing a quote bracelet with Cricut Explore

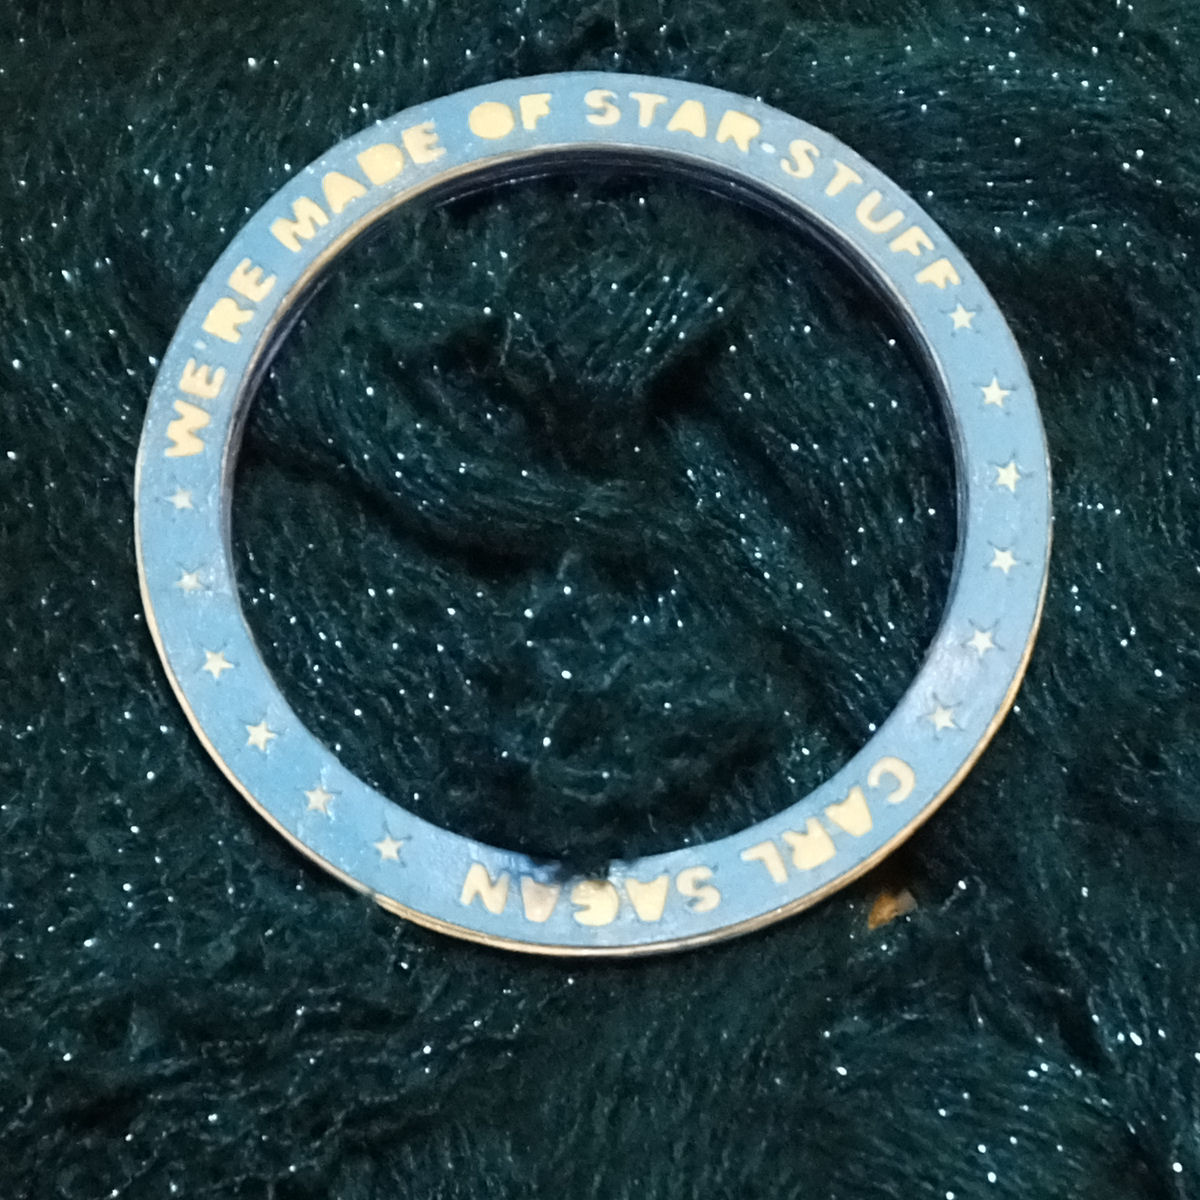
We're made of star-stuff bangle bracelet made using Cricut Explore #Cricut #papercrafts #jewelryproject

Recently I got a Cricut Explore to review and wow- I love this machine. What I like about it is how easy it is to use with my own graphics. I'm not limited by cartridges, and you don't have to use a vector program to design your own projects. Work in whatever program you're most comfortable in then create your project in the cloud based Design Space application.

The Cricut Explore will make very fine cuts easily. There is a huge library of shapes so if you don't want to draw your own, you can create projects using the shapes available. An inexpensive monthly membership gives you access to a lot of it, but I haven't really looked yet because yay! It cuts my own art easily.

So to make a bracelet using the Cricut, you will need a few things-

  • the inner diameter measurement of a bangle bracelet that you like the fit of- in my case, I prefer larger, looser bangles that slide partway down my hand. 
  • graphics program
  • 3 sheets of 12x12 card stock with at least 1 in high contrast
  • cutting mat
  • glue
  • Mod Podge
  • Cricut Explore!
  • Internet connection to use Design Space
So if you have those things, you'll open your graphics program and start putting together your quote bracelet.

Start by drawing a circle that's the same size as you want the inner diameter of your bangle, then decide how thick you want your bracelet to be. Double that number and add it to the inner diameter to figure out the outer diameter. 

Then you're going to start placing your letters for the bracelet. I chose a short quote " We're made of star-stuff" with Carl Sagan's name at the bottom edge. You'll notice my guide lines in blue for centering the letters. 

The little islands are going to be eliminated because it just adds to the cutting time and they won't be in the final project. I also added some stars. 
So now it's time to create the rest of the pieces. The outside pieces are the ones with the quote, the rest are solid. So this is what my final layout looks like. It's a transparent PNG with pixel clean lines. 

So then you upload it to Design Space, get it sized on the canvas, and cut it out of 3 sheets of card stock (and wind up with lots of circles that can be used in other projects)- Cricut has a bunch of YouTube videos that show exactly how to use Design Space. 

After it's all cut out, you start gluing it together. This is what my final edge looks like with all the stacked layers. Use thin layers of glue to prevent warping!

After the glue is dry, cover it in Mod Podge and let the Mod Podge dry completely. 

I'm having entirely too much fun with my Cricut Explore. Remember that wand and wizard hat mandala that I posted the other day? I used the components to make a decal for my husband's laptop.


Review item provided at no cost, this is my honest experience and opinion.

Monday, August 4, 2014

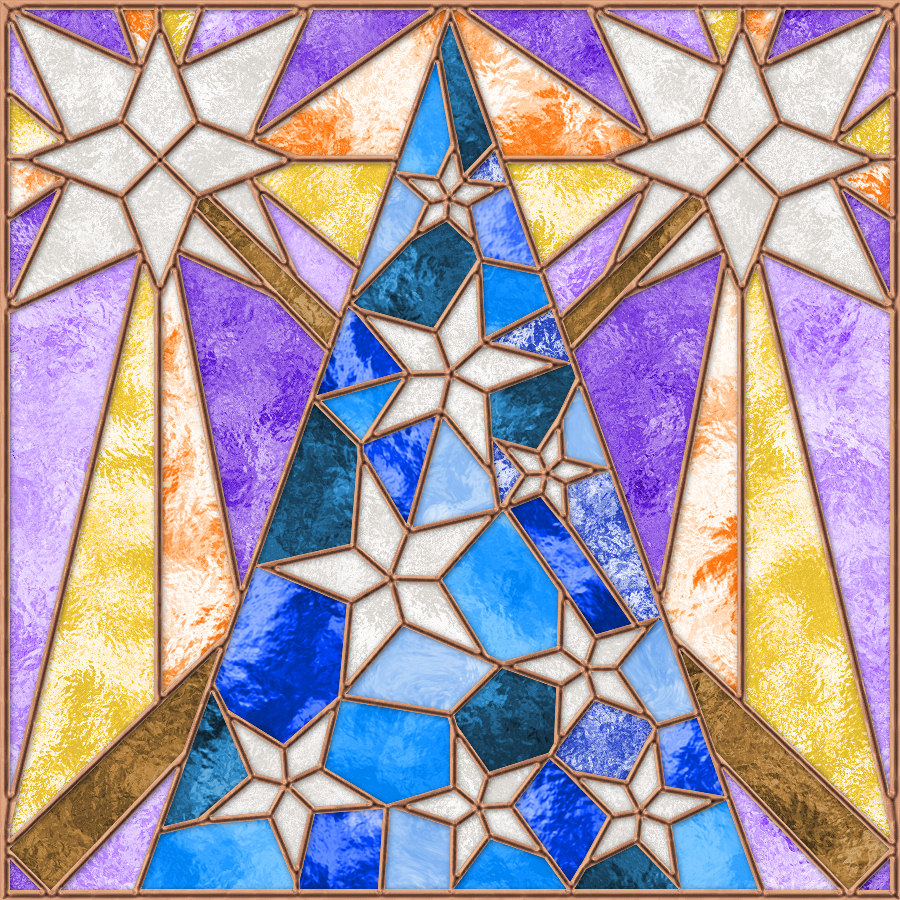
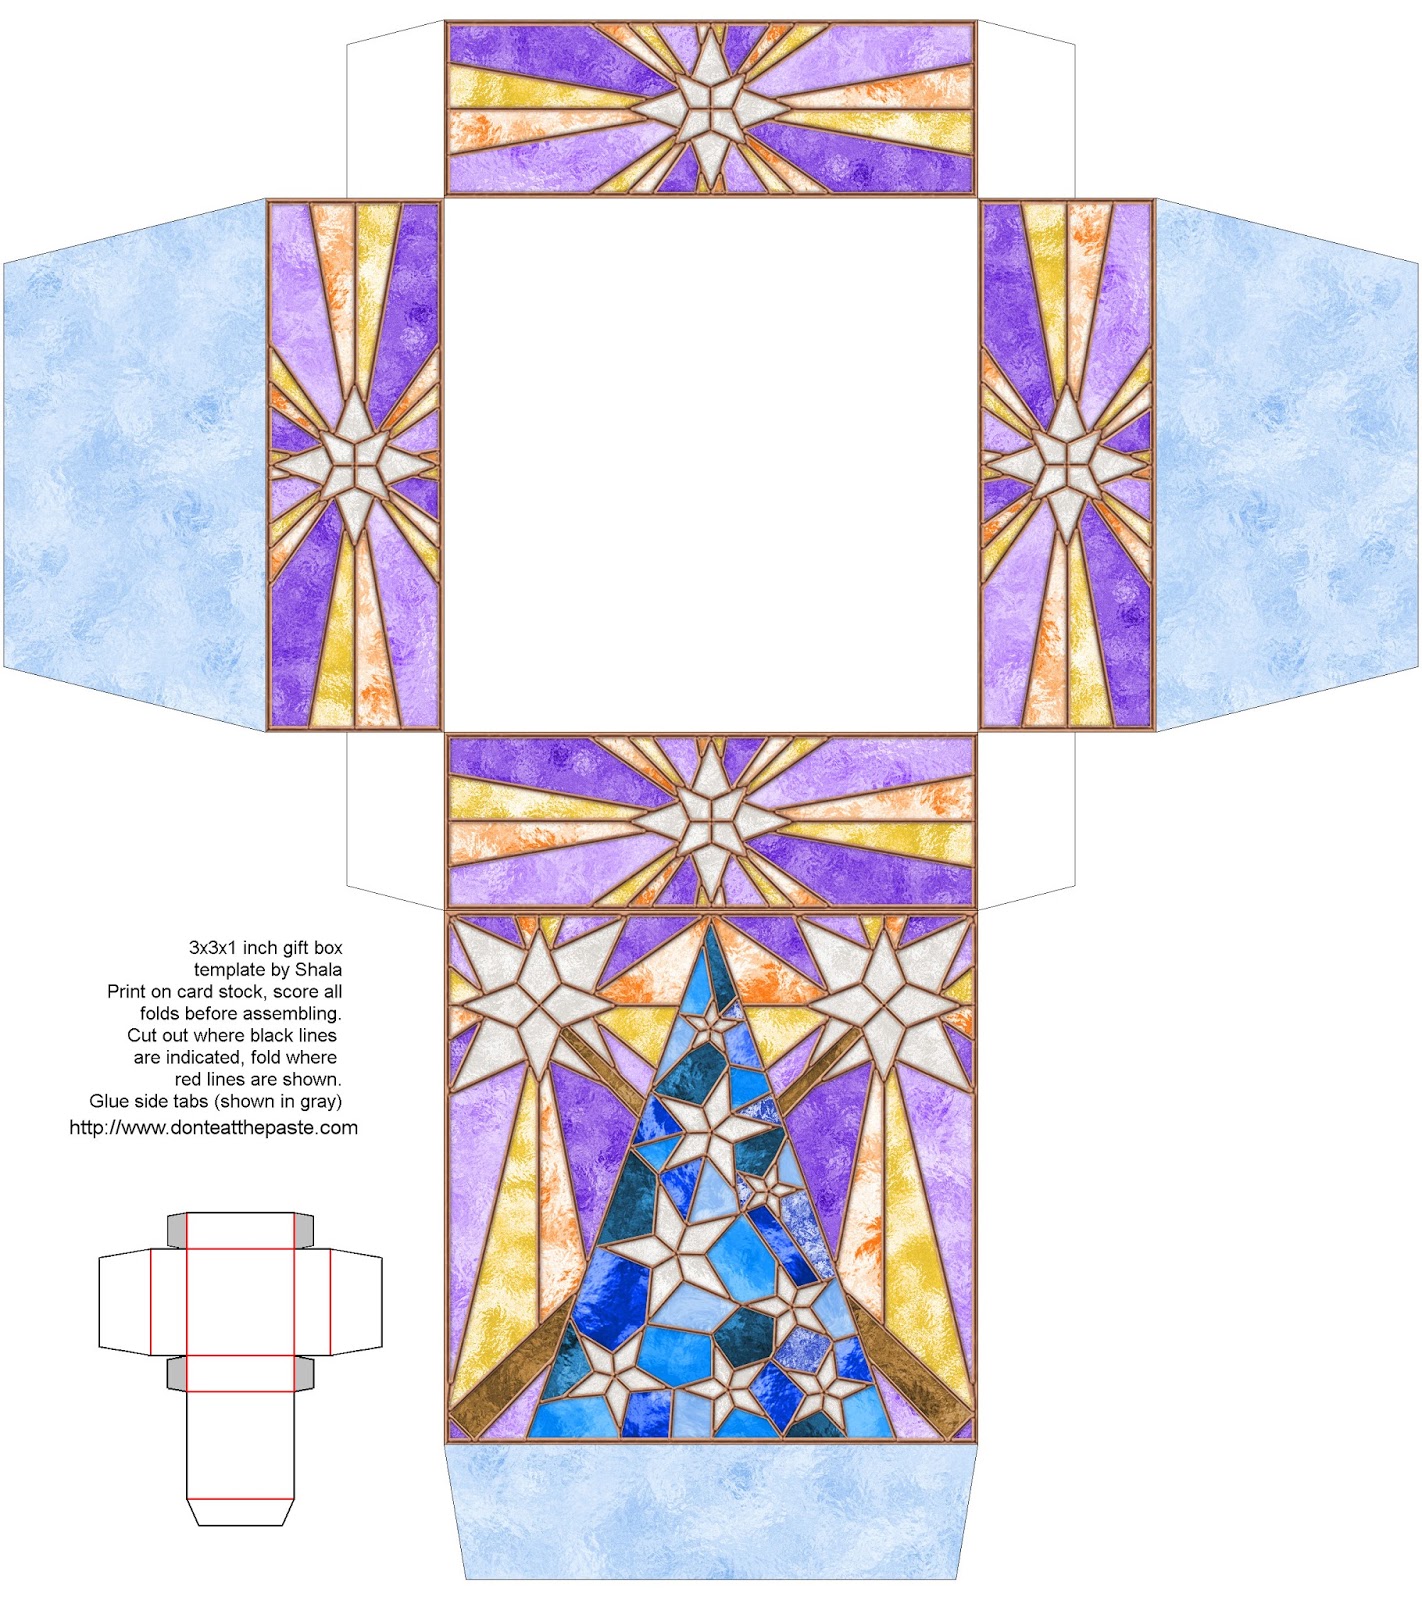
Stained glass effect wizard box to print and make

Wizard stained glass

I was planning to do this a couple days ago but it didn't come together until today. A stained glass wizard box to print and make for gift giving. I hope you like it!!

Click the box below for a larger version to print and make. Print on card stock, cut out, score folds, fold, glue!

Printable stained glass effect gift box

Saturday, August 2, 2014

The Turnip Girl's newest costume

The Amazing Turnip Girl as The Winter Soldier - creative upcycled costume making

So The Amazing Turnip Girl has been working for weeks on a new costume. Now, if you've been following The Adventures of a Turnip Girl , you know that all her costumes are what's called "closet cosplay". It's an inexpensive form of cosplay that uses things that are easily available in creative ways. She's not casting rubber, or spending hours drafting patterns to sew. She starts with an idea, and heads to thrift stores and garage sales to pick up the pieces she needs. It takes a fair amount of creativity, and involves sees possibilities in the shapes of things. For this particular costume, the only brand new items in it are the buttons, spray paint, glue and a zipper.


The shirt is a lightweight sweater, that was modified heavily. she removed one arm to make room for the armor, and created tac style pockets for it and added a full length zipper. All hand stitched in. The knee pads were a huge find. She got those at a local garage sale- 50 cents for the full set of pads. The others are set aside for other costumes. The armor on her arm is made using paper mache, so is the knife and gun.

The glove was a good find too. She found that actually alone in my things and asked if I was going to do anything with it. Um.. not so much. A pair of gloves, I might crochet an edging for, but a lone glove? She happily took it.

All those straps? She bought a lot of belts. One was the wrong color, but a quick coat of paint fixed that! She used fabric to make a harness back piece for some of the belts. The holster and sheath are hand stitched from black vinyl.


She's getting really good at paper mache isn't she? 

The mask is paper mache glued to fabric. The star was stenciled on, using Frog Tape to get a really clean edge.

So in the process of working on this costume, we found out that part of Barnes and Noble's Pop Culture Nights was a Marvel night! She was excited, no waiting to wear her costume, she even had to hurry to finish it! There were a LOT of Captain Americas, it was hero night at B&N.

The Winter Soldier won, and people stopped and complimented her costume.