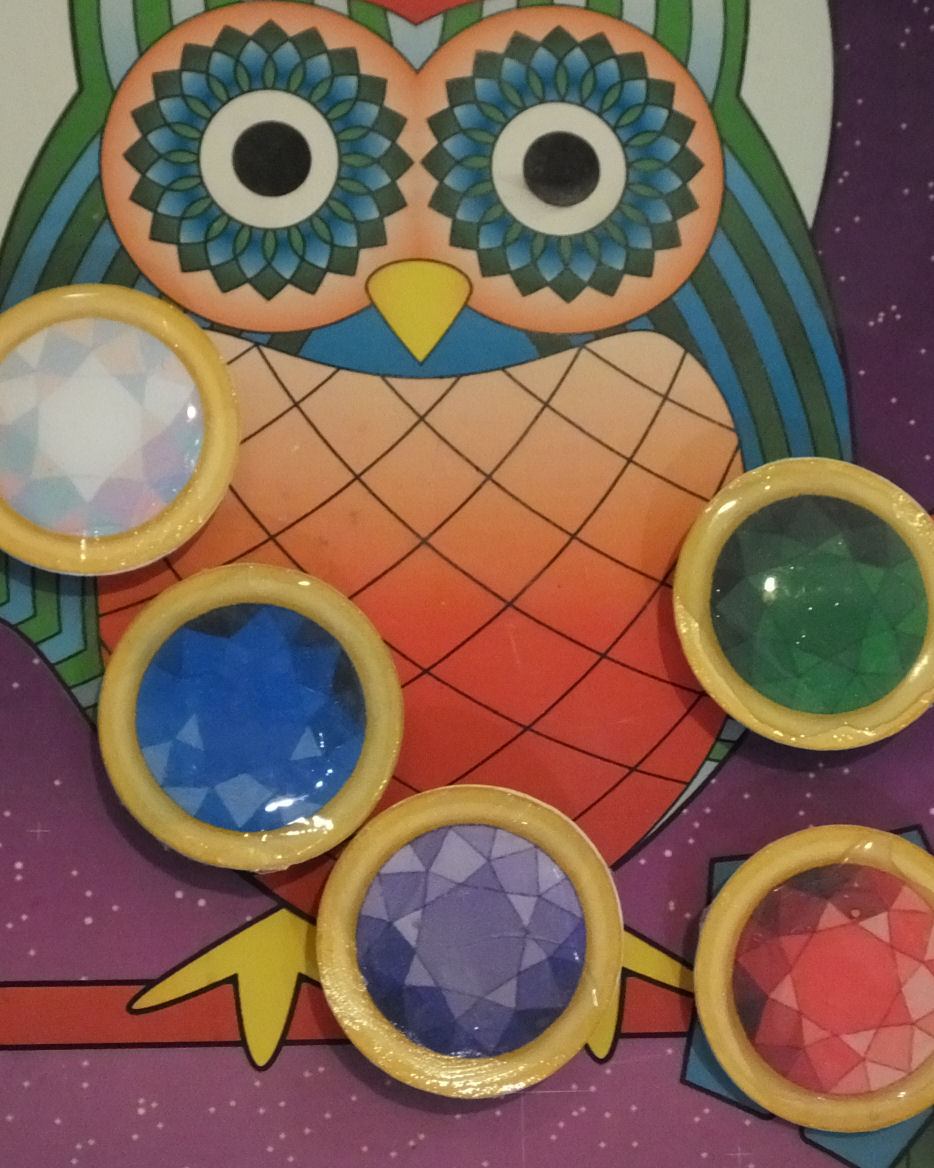
I love magnets, especially the ones that are made by members of my family. These are super easy, but you don't have to use the paper gemstones for magnets. They can also be used as decorations on cards, glued on to bobby pins that have a glue pad, or turned into jewelry for part of a Halloween costume.
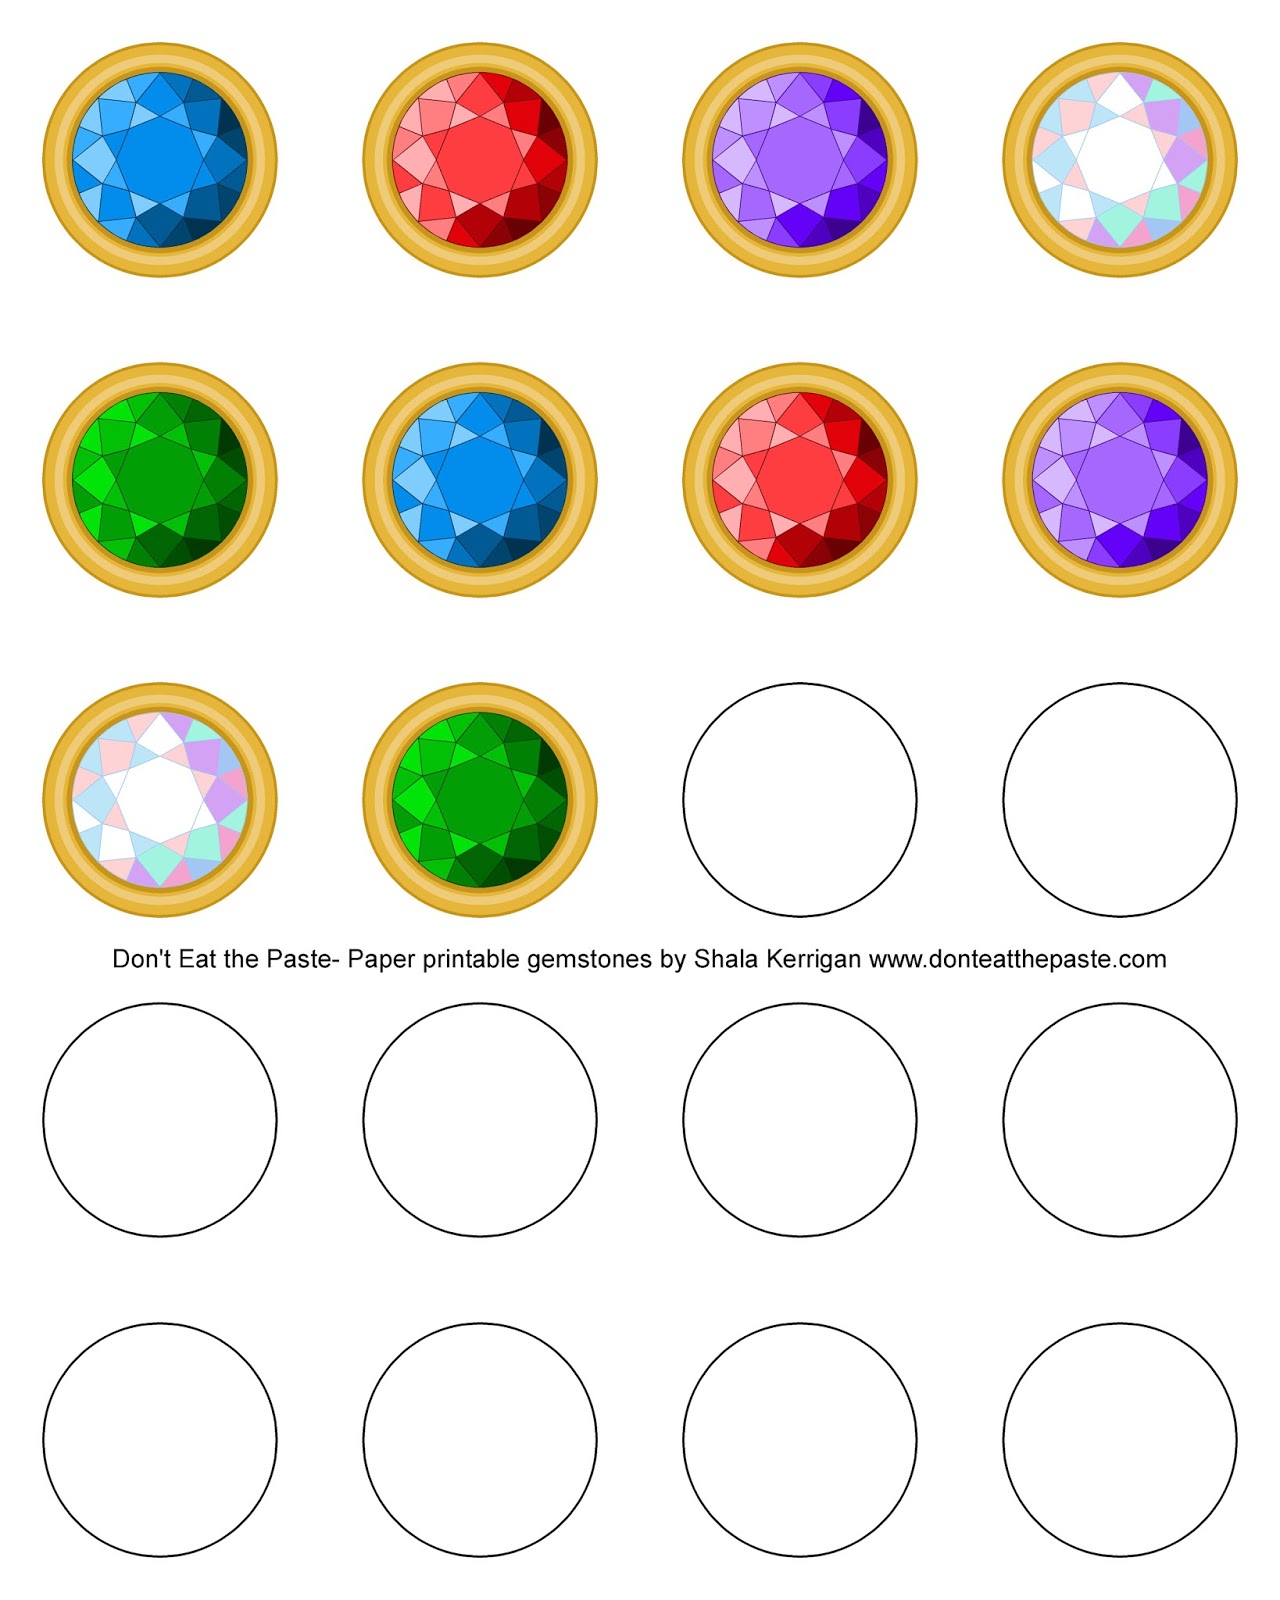
So for people who like to print and cut, you'll click below for the larger image, print out this page on card stock and cut out.
Now in a minute, I'm going to tell you how I did them. but the finishing methods for both versions are the same. 2 layers of cardstock are pretty stiff which is why they work as magnets and accessories. If you use any kind of ink that might smudge- spray the color printed disks with a clear sealing spray. After that dries, use Mod Podge to adhere a blank disk to the back of a colored disk. Mod Podge over the top, and let dry. Mod Podge on the bottom and let dry. Now you can choose if you're going to use Dimensional Magic. I did, and I like the look but the finish did crack on a couple. Let that dry for 24 hours, and use a strong glue to attach it to what ever you're using them on! (Small round ceramic disk magnets on mine!)
So what did I do different? Print and cut with the Cricut Explore. Have I mentioned how much I LOVE this thing? The new update allows you to print using your home printer and then cut out your image. So all of my disks were perfectly cut and so were the blank backs. So when you update, and go into Design Space, you'll calibrate and watch videos that show you how to use the new update.
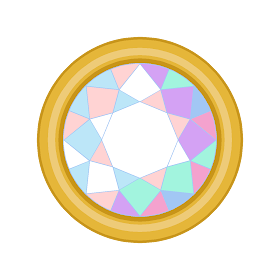
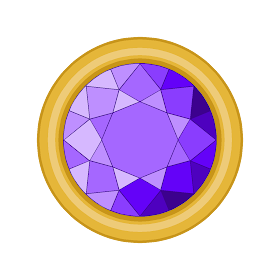
The new update works with PNG files!! So here are those files for you to use (and you have my permission to use them in other Cricut projects)- click on them to download and save the transparent PNGs
So I went to edit, and put them all at 1.5 inches in size- this is what my print preview looked like after getting them laid out. It shows the bleed of my outside color so if the alignment is even a little off, it still looks great.
Then after I printed and cut that, I flattened all the images, and switched them to cut and cut them from another sheet of card stock.
Yes, it does work with more detailed cuts. I'll show that later this week!
Using my Amazon links helps pay for this site and helps fund my book addiction.





No comments:
Post a Comment
Thank you for leaving a comment! Because of the high spam levels and still wanting the site to be friendly, I switched to moderating comments instead of a captcha. As long as you aren't a spammer or spambot this comment will show soon!