So lately I'm crocheting cozies for jelly jars- because they look so cute all dressed up. It would also be a nice way to share a spice mix, you could use it with a Cuppow for a small drinking jar.
These patterns are sized for the half pint quilted jelly jars with the regular mouth by Ball Canning.
Both jars use a size G hook and worsted weight yarn- I like Lily Sugar 'n Cream very much for these sorts of projects and you can see how the Batik color way created a spiral effect on the jar in back.
Gauge for both is 2.25 inches for the first 4 rounds
The Blue Jar-
This cozy has a simple front post stitch design that makes a diamond grid in textured stitches around the jar. If you haven't tried front post crochet- it's done by inserting the hook around the post of the stitch instead of in the top of the stitch. Front post means it's done on the front or outside of the piece.
Stitches used:
Single crochet= sc
Double crochet= dc
Front post double crochet= fpdc
Front post triple crochet= fptc
slip stitch= sl st
stitch or stitches= st or sts
Repeat ** means to repeat what is between the asterisks
Base-
Ch 2 or make magic ring
Round 1: sc 7 times in ring or first stitch, sl st to join.
Round 2: Ch 1 (does not count as first stitch),2 sc in each stitch around, sl st to join (14 sts)
Round 3: Ch 1 (does not count as first stitch), sc in first stitch, 2 sc in next st, *sc in next st, 2 sc in next st*, repeat ** around, sl st to join (21 sts)
Round 4: Ch 1 (does not count as first stitch), sc in first st, sc in next st, 2 sc in next st, *sc in next st, sc in next st, 2 sc in next st*, repeat ** around, sl st to join (28 sts)
Round 5: ch 2 (counts as first stitch), dc in next st, dc in each stitch around. Sl st in 2nd st of starting chain to join.
Round 6: Ch 1 (does not count as first stitch), sc in same st, fpdc in next dc, *sc in next st, fpdc in next dc*, repeat ** around, sl st to join (14 fpdc stitches)
This is where it gets tricksy. You'll be working backwards and forwards to create the Xs.
Round 7: Ch 1 (does not count as first stitch), sc in same stitch, skip next stitch, fptc in next dc, sc in st after skipped stitch, fptc in skipped dc (X formed),*sc in next st, skip next stitch, fptc in next dc, sc in st after skipped stitch, fptc in skipped dc (X formed),* around, sl st to join (7 crossings)
Round 8: Ch 1 (does not count as first stitch) sc in same stitch, fpdc in next st, *sc in next st, fpdc in next st*, repeat ** around (14 fpdc)
Round 9: Ch 1 (does not count as first stitch), sc in same st, fptc in last dc of previous round, skip stitch, sc in next st, skip stitch, fptc in next dc, *sc in next st, skip stitch, fptc in skipped dc, sc in next stitch, skip stitch, fptc in next dc*, repeat ** around- the last fptc will be going into the first skipped dc. sl st to join.
Round 10: Repeat round 8.
Round 11: Repeat round 7
Round 11: Repeat round 8
Round 12: Repeat round 9
Round 13: Repeat round 8.
Round 14: Ch 1 ( does not count as first stitch), sc in each stitch around, sl st to join, break off yarn and weave in ends.
Spiral Colored Cozy:
Ch 2 or make magic ring
Round 1: sc 7 times in ring or first stitch, sl st to join.
Round 2: Ch 1 (does not count as first stitch),2 sc in each stitch around, sl st to join (14 sts)
Round 3: Ch 1 (does not count as first stitch), sc in first stitch, 2 sc in next st, *sc in next st, 2 sc in next st*, repeat ** around, sl st to join (21 sts)
Round 4: Ch 1 (does not count as first stitch), sc in first st, sc in next st, 2 sc in next st, *sc in next st, sc in next st, 2 sc in next st*, repeat ** around, sl st to join (28 sts)
Round 5-16: Ch 1 (does not count as first stitch), sc in first stitch, sc in each st around, sl st to join.
Round 17: Ch 1 (does not count as first stitch), sc in same stitch, sc in next stitch, ch 1, skip stitch, sc in next st, *sc in next st, sc in next st, ch 1, skip stitch, sc in next st*, repeat ** around, sl st to join (7 ch 1 spaces)
Round 18: Ch 1 (does not count as first stitch), sc in same stitch, skip stitch, 5 dc in chain 1 sp, *sc in next st,skip stitch, 5 dc in chain 1 sp,* repeat ** around, sl st to join. (7 shells)- break off yarn and weave in ends.
Hope you enjoy dressing your jelly jars!
Pages
▼
Tuesday, February 25, 2014
Sunday, February 23, 2014
Circles Mandala to color
I hope you enjoy this mandala, it's pretty simple. Lots and lots of circles! There is also a lot of detailed (small!) areas for the people who really enjoy the more complex designs. Click the images below to get larger versions to print and color.
Small JPG version:
Large transparent PNG version:
Tuesday, February 18, 2014
Shamrock Stained Glass Printable Box- with a blank version to color!
I'm trying to increase the shares on my Facebook page, and decided to do it by adding quotes to some of the thumbnails for printables. The quote above was from Irish author Bram Stoker.
Here's the full quote from Dracula-
Nothing is too small. I counsel you, put down in record even your doubts and surmises. Hereafter it may be of interest to you to see how true you guess. We learn from failure, not from success!-Bram Stoker
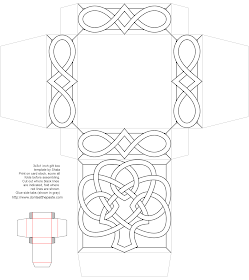
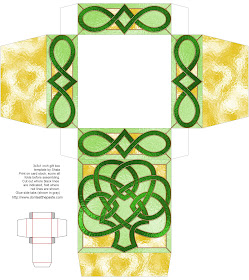
This knotwork shamrock box is available in both faux stained glass full color ready to print and make and a black and white version that you can color yourself. Click images for larger version, print on card stock, cut out, score folds, fold, glue!
Blank version:
Stained Glass Effect:
Sunday, February 16, 2014
Shamrock Coloring Page and Embroidery Pattern
There will be a box with this design, and a modified version of this knot on a box that can be colored.
If you really like shamrocks, and knotwork shamrocks- you can find a bunch of projects, printables and coloring pages here
Shamrocks on Don't Eat the Paste
I do hope you enjoy this one. Click on the image for a larger version, print and color. Because the knot has two lines in it, one line is in green on the embroidery pattern if you want to use more than one color.
Small JPG format:
Large transparent PNG format:
Embroidery pattern:
Wednesday, February 12, 2014
Book Review- Buffi's Dress Design
If you like to sew, and are ready to take it to the next level and start making your own patterns, this is a great book.
The author assumes that you know the very basics of sewing, how to thread your machine, and do straight and zig zag stitches. If you don't, that information will be in your owner's manual. After that, she teaches you from the ground up. She explains how to get your fabric on grain, how to finish seams nicely, what slopers are, how to take proper measurements and customize one to fit, and how they are used in pattern creation. She takes you step by step through all the processes in a nice, organized way that's easy to read with lots of pictures. The introduction also talks about body types and gives suggestions from projects in the book for the best silhouettes to flatter those types.
Three basic slopers are included for 3 dress styles- sheath, shift and princess seamed. A shift fits loosely, and is more fitted to the shoulders and bust than to the waist and hips, a sheath is fitted more closely, princess seams are the dresses with 2 fitted seams in the front for a very nice and very feminine fit.
Each dress style has 3 variations in the projects. The author explains how to create the patterns using the slopers you made to fit you just perfectly. A lot of the dresses maybe on the short side for some people, but lengthening is fairly simple, just remember to buy more yardage than recommended if you are lengthening the dress. The styles have a wonderful range, there are very tailored pieces and dresses that are more flowing and softer. All the instructions with the diagrams are clear and understandable. For techniques you may not have used before like applying interfacings- there are instructions in the book.
The last chapter is designs made from thrifted clothing, remaking the old into something new. It's got some great ideas for that formal dress you found at a thrift store that had a fabulous retro fabric and not so fabulous lines, or even turning a couple pairs of jeans into a very cute dress for summer.
One of my favorite things about this book is that dress styles themselves are classic. They take a note from the past and you can see the influence of other decades in the lines. They are made from more contemporary colors and trimmings, but the fact that a wrap dress is just as wearable now as it was in the 80s, or a shift with lines that wouldn't have looked out of place in the 60s would be cute at a party today proves the timelessness of the designs.
Absolutely recommended, and it's going up on my shelf with my vintage Vogue sewing books and other favorite references for sewing.
Check out Storey Publishing on FB for giveaways, ideas, recipes and projects!
U.S.A. U.K.
I received a complimentary copy of this book to review, I received no other compensation, and my review is my honest opinion of the book. You can read more about my review policy here.
Tuesday, February 11, 2014
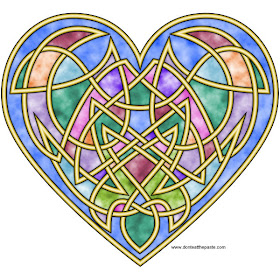
Heart knot printable box and embroidery pattern
For the embroidery pattern- print to whatever size works for your project and transfer using your favorite method.
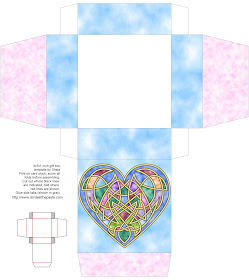
Printable heart knot box-
Embroidery pattern-
Friday, February 7, 2014
Heart Knot to color
I love drawing these knots. While working on this one, apparently I said out loud "Needs more entanglements" then wound up in a conversation with my husband about how I drew knots. His eyes got a little glazed, but this design maybe one he or William use in leather tooling at some point.
You can use it now! Print it, color it, or use it for crafty things. This knotwork heart coloring page is a good one for Valentine's Day cards and projects. Click the images for a larger version, print and color!
Small JPG version:
Larger transparent PNG version:
Monday, February 3, 2014
Peace Mail Mandala to color
I hope you enjoy this design to color! It's sort of like a peace symbol chain mail sun catcher. I'd love to have the components to make something like this!
Click the images for larger version to print and color.
Small JPG version:
Click the images for larger version to print and color.
Small JPG version:
Large transparent PNG version:
Sunday, February 2, 2014
Yogurt and the Pretty Green Jar
 |
| I rigged up a white background to show off the green! |
If you've liked Ball® Canning and Recipes on Facebook (and you should!)- then you've seen the announcement that while the limited run of blue jars is ending, they are starting to make GREEN jars. Even better? These come in both pint and quart sizes and really are just that pretty. They are Heritage Collection jars, and inspired by the Ball Perfection Jars. The are manufactured to the normal high quality of Ball jars and absolutely gorgeous. The color is fantastic, the lid sizes are also standard so the rings, plastic caps and accessories you have will work with these jars.
Pre-order Spring Green Jars
I love the Heritage Blue jars and blue is my daughter's favorite color. Green is my favorite color, so I'm just thrilled with the new release. If you really love the blue, you have a limited window to buy more before they are gone.
The jars shown are the quart sized Heritage Collection green jar and the Ball Collection Elite half-pint. The yogurt shown is Viili.
Viili is:
mesophilic- which means that it sets at room temperature, no heat necessary
heirloom- which means that the culture itself can be reused and shared indefinitely.
Ball® pint and quart jars are perfect for making yogurt using heirloom cultures. Why? Because it makes it even easier. My son uses a Heritage blue pint jar for his yogurt. He makes a batch, puts it in a bowl, washes the jar, then puts back in two spoonfuls of yogurt. He tops that with milk and then puts a plastic cap on it to shake it up and mix in the yogurt. Takes off the cap and puts a coffee filter on top of the jar, and then adds a canning band to hold that in place. Sets it out on his counter top until it's set and fixes two 1 cup servings of yogurt for himself. He uses the yogurt both sweet with fruit or extracts, or adds savory spices to use it as a dip or topping.
Using the quart jar, you'd put in a 1/2 cup of your finished yogurt to start your next batch. When it gets low, I measure what's left in a measuring cup, wash the jar and start the next batch. I like plastic caps for jars after they are opened. It saves wear and tear on rings to store them properly, and the caps are inexpensive, washable and reusable.
There are a few kinds of mesophilic cultures, so it's about finding the one you like best. Piima is lovely in smoothies and has a cream cheese flavor that works well with cream added to the milk. Matsoni/Caspian Sea yogurt is very tart, Viili is mild with a neat ropey/jelly like texture, Filmjolk is the yogurt I recommend to people who don't really like yogurt. It's very mild, and excellent for desserts.
The piima works so well for smoothies that I've never tried thickening it, but for the rest, adding in some cream and some instant dry milk with the milk/starter mix makes a thicker yogurt without having to add anything that's not milk.
For flavoring- my family uses all sorts of stuff. Homemade jellies and jams, frozen fruit, sugar, maple syrup, homemade caramel sauce, cocoa powder- the important thing to remember is that you need to keep some yogurt completely plain to culture your next batch. We've found the easiest is just to have all the yogurt plain in the fridge then flavor individual servings.
Ball® sent me the green jars for review purposes. The Elite jar is from my personal collection and my personal choice for packed lunches and yogurt servings because of the shape of the jar and the wide mouth.
Saturday, February 1, 2014
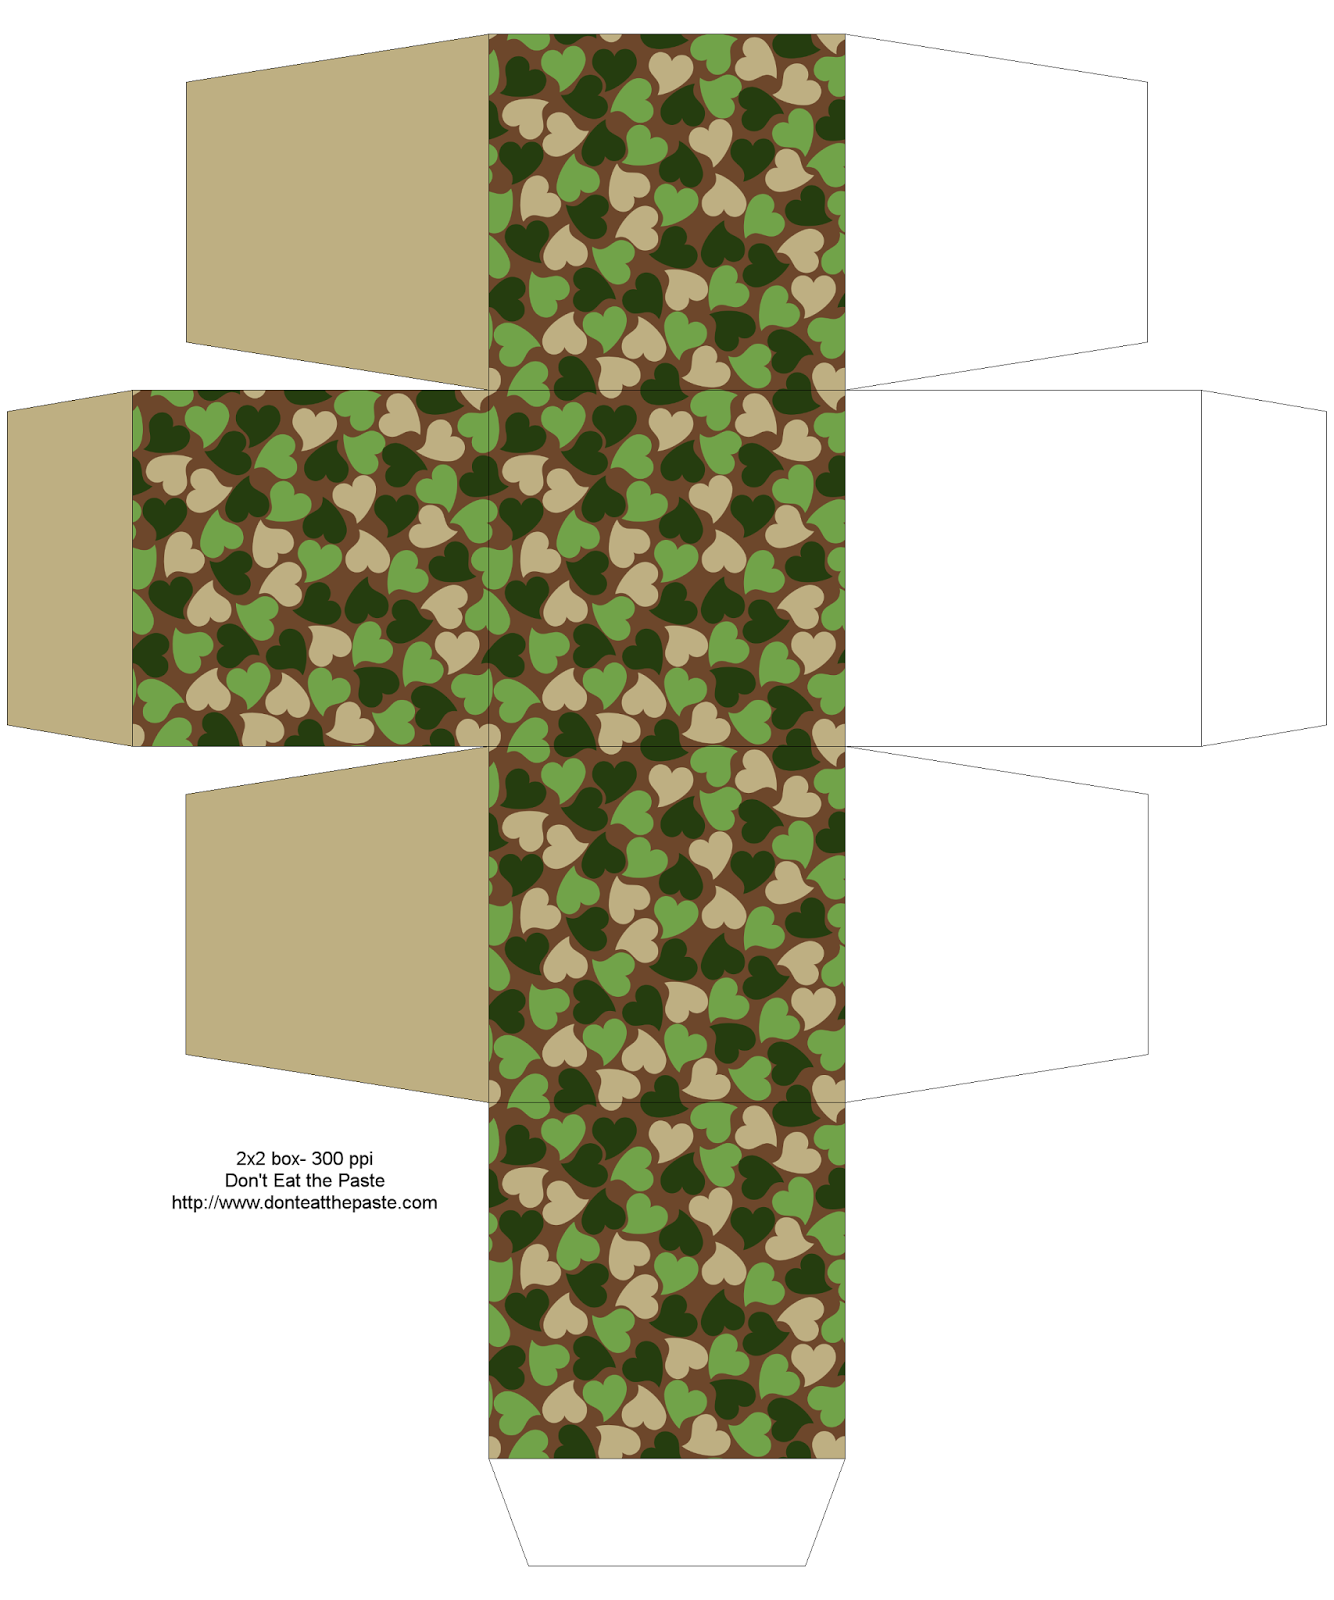
Woodland Hearts Boxes
When I posted the very pink hearts boxes, I mentioned that I was going to try the pattern in camouflage colors. Hope you like it!
Click the boxes for larger versions to print on card stock, cut out, score folds, fold and glue!
Hey, if you take a look at Don't Eat the Paste on Facebook, Brigette has been posting photos of collections of boxes, and some gorgeously matted and colored mandalas, and Sarah posted a picture of a drum that she used a celestial mandala on. Check them out!


